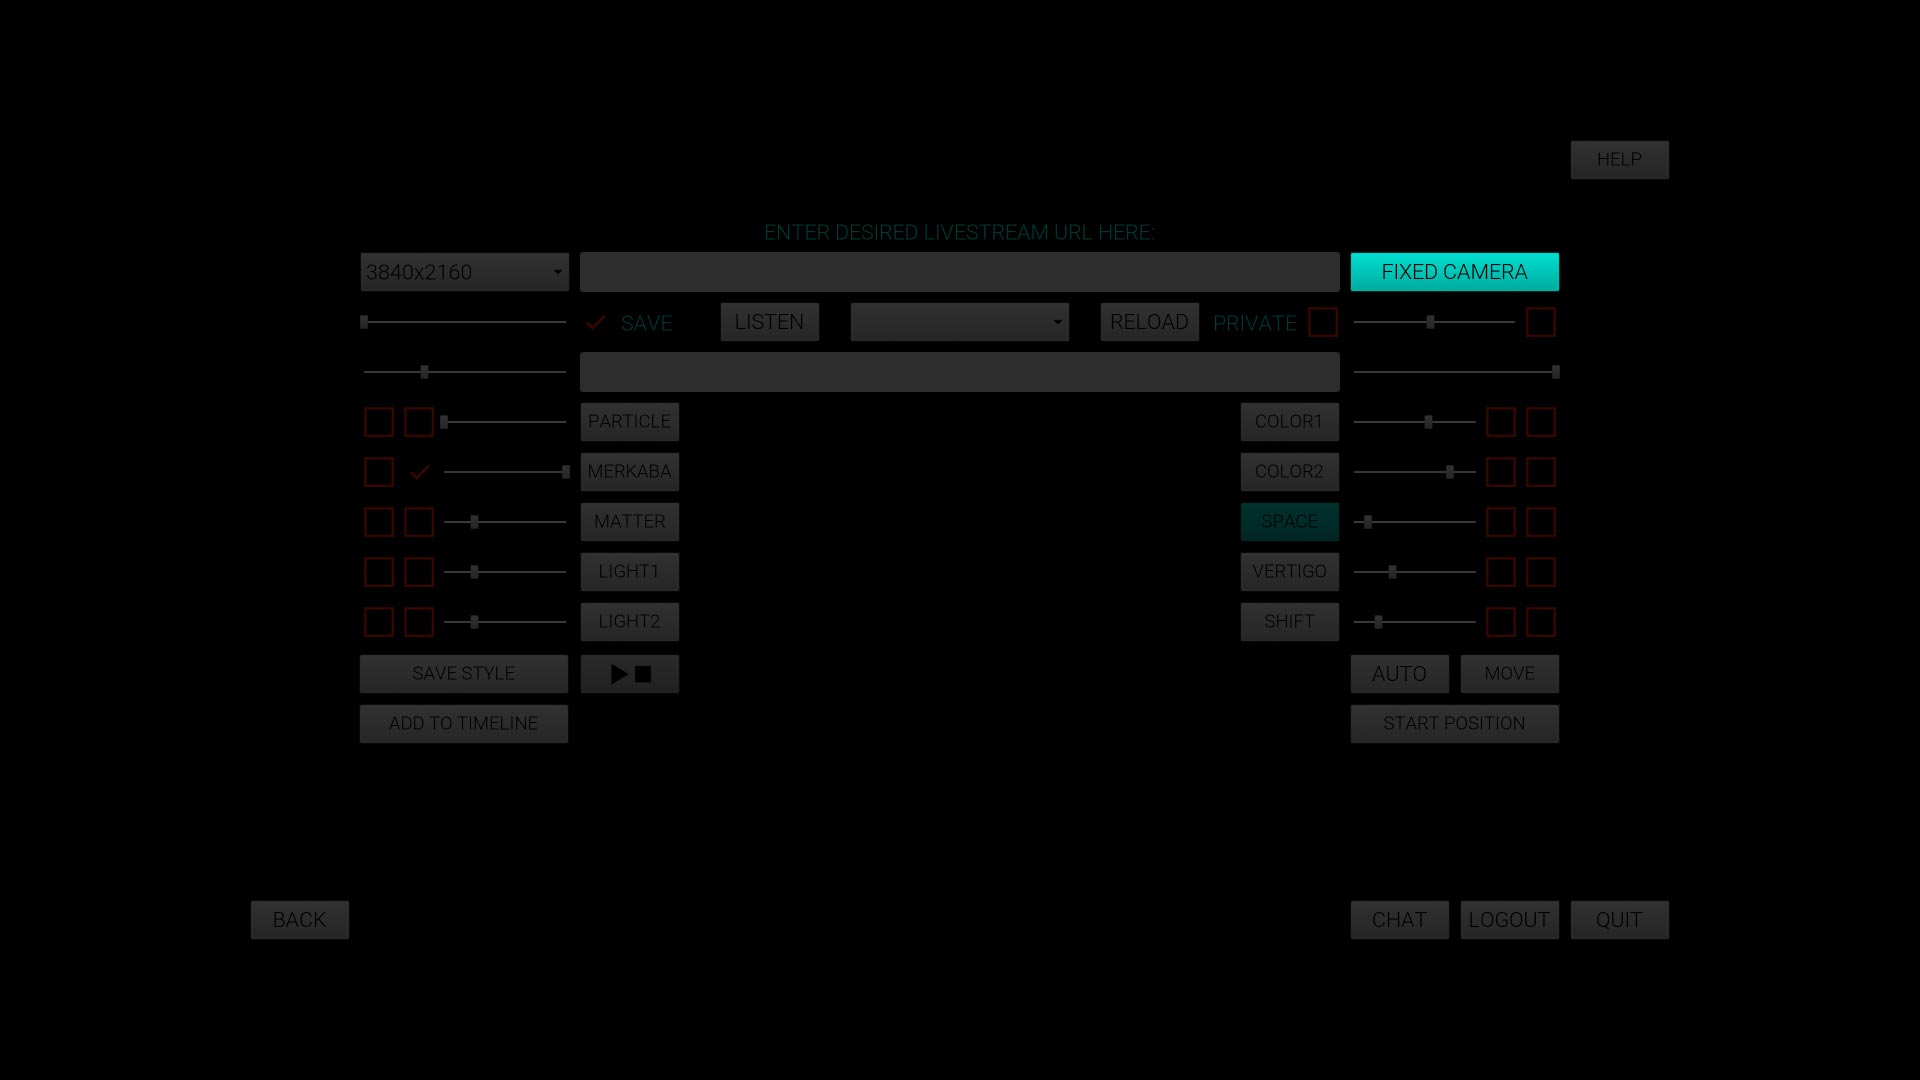
1. Hit TAB to get into the menu.
2. The first thing, that probably attracted your attention, is the ENTER DESIRED LIVESTREAM URL input box in the center at the top.
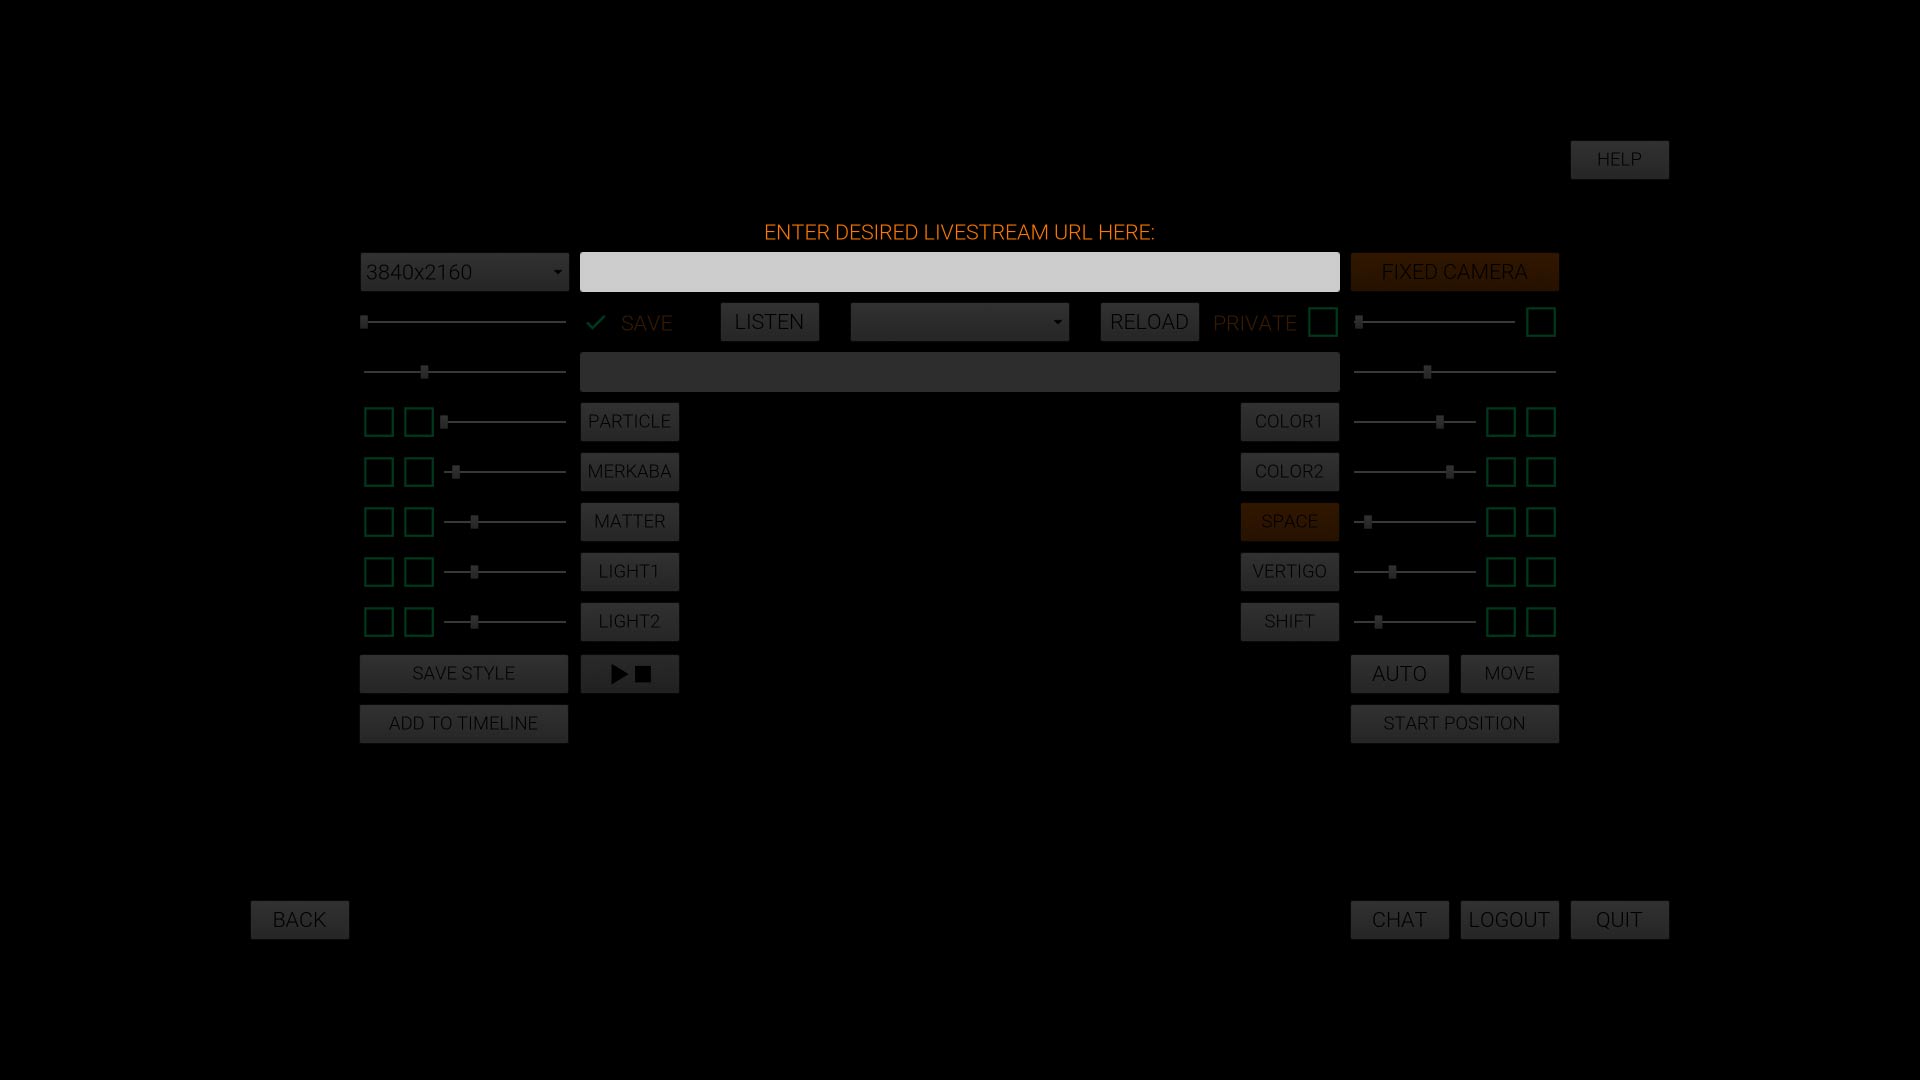
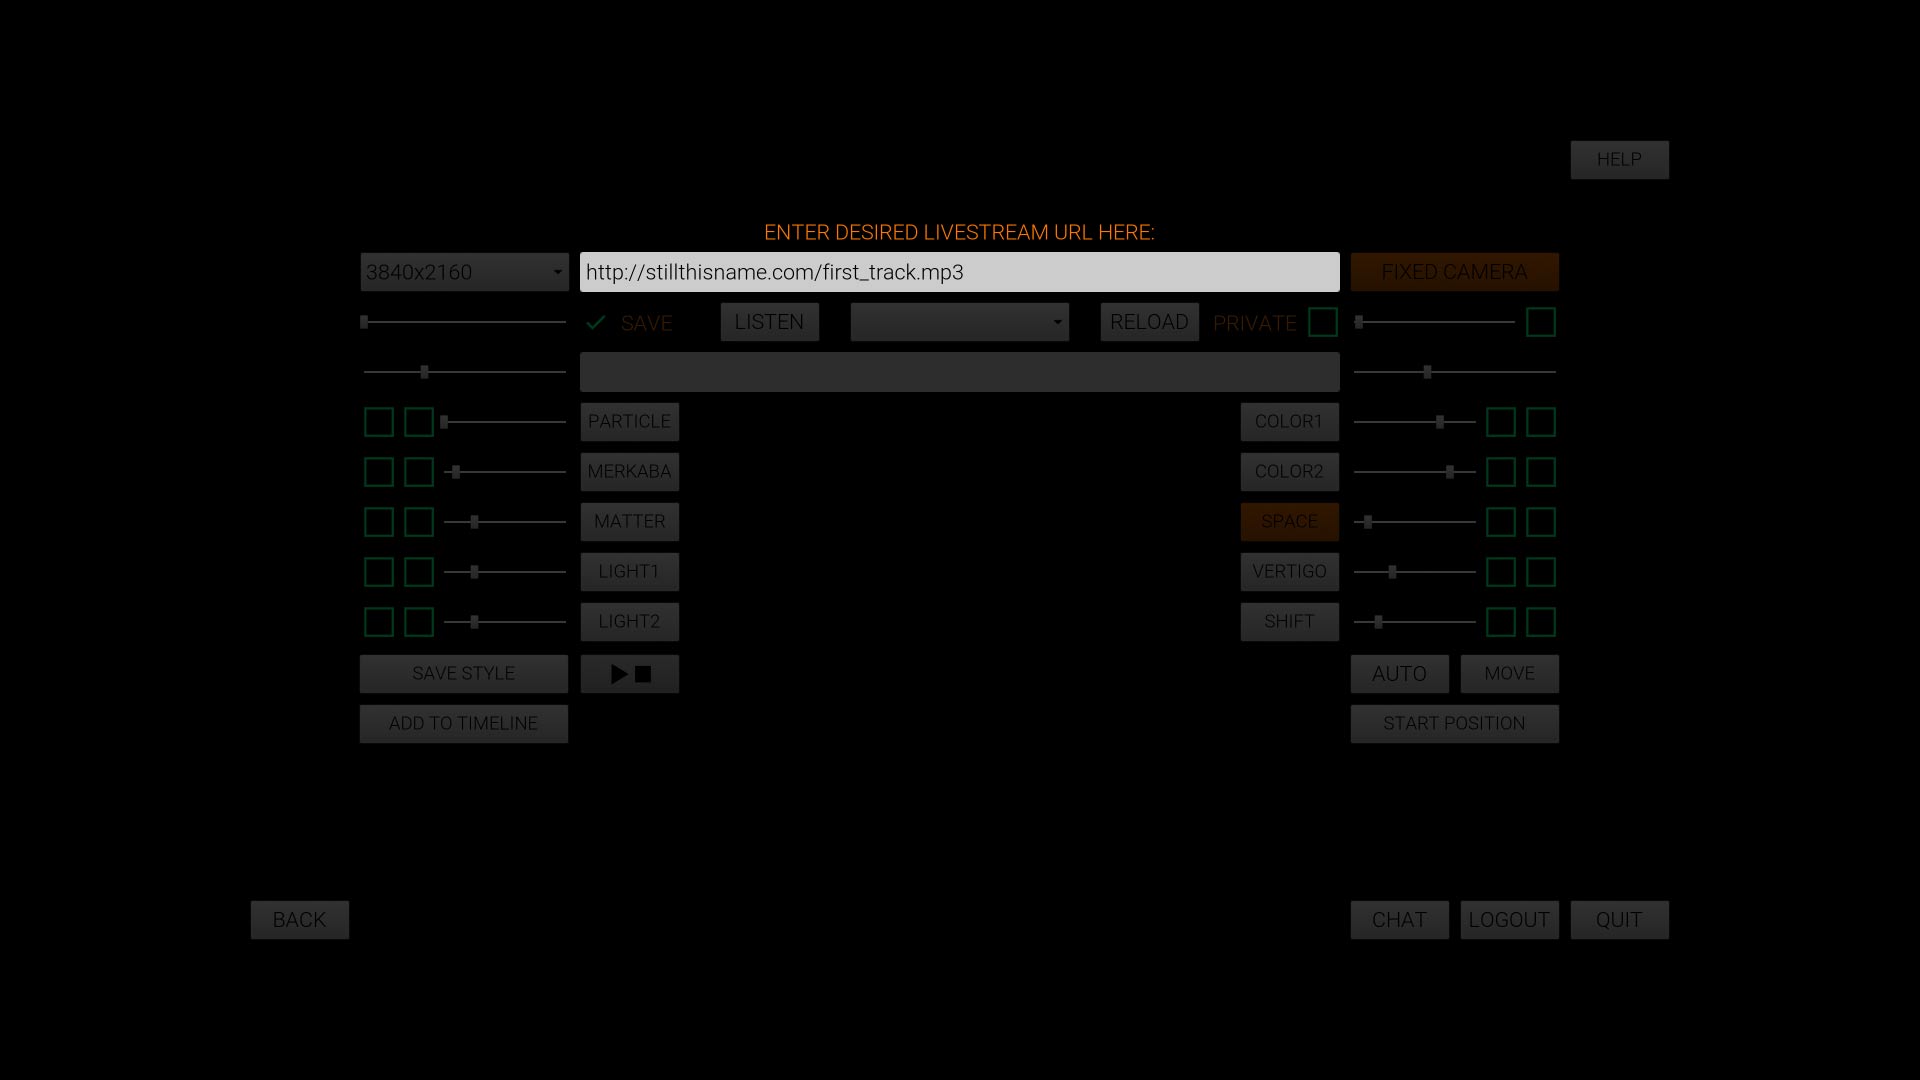
3. You can paste or type in your LIVESTREAM or MEDIA URL LINK here, for example:
http://www.stillthisname.com/first_track.mp3
*Please note that to be recognized, the URL should start with "http://...".
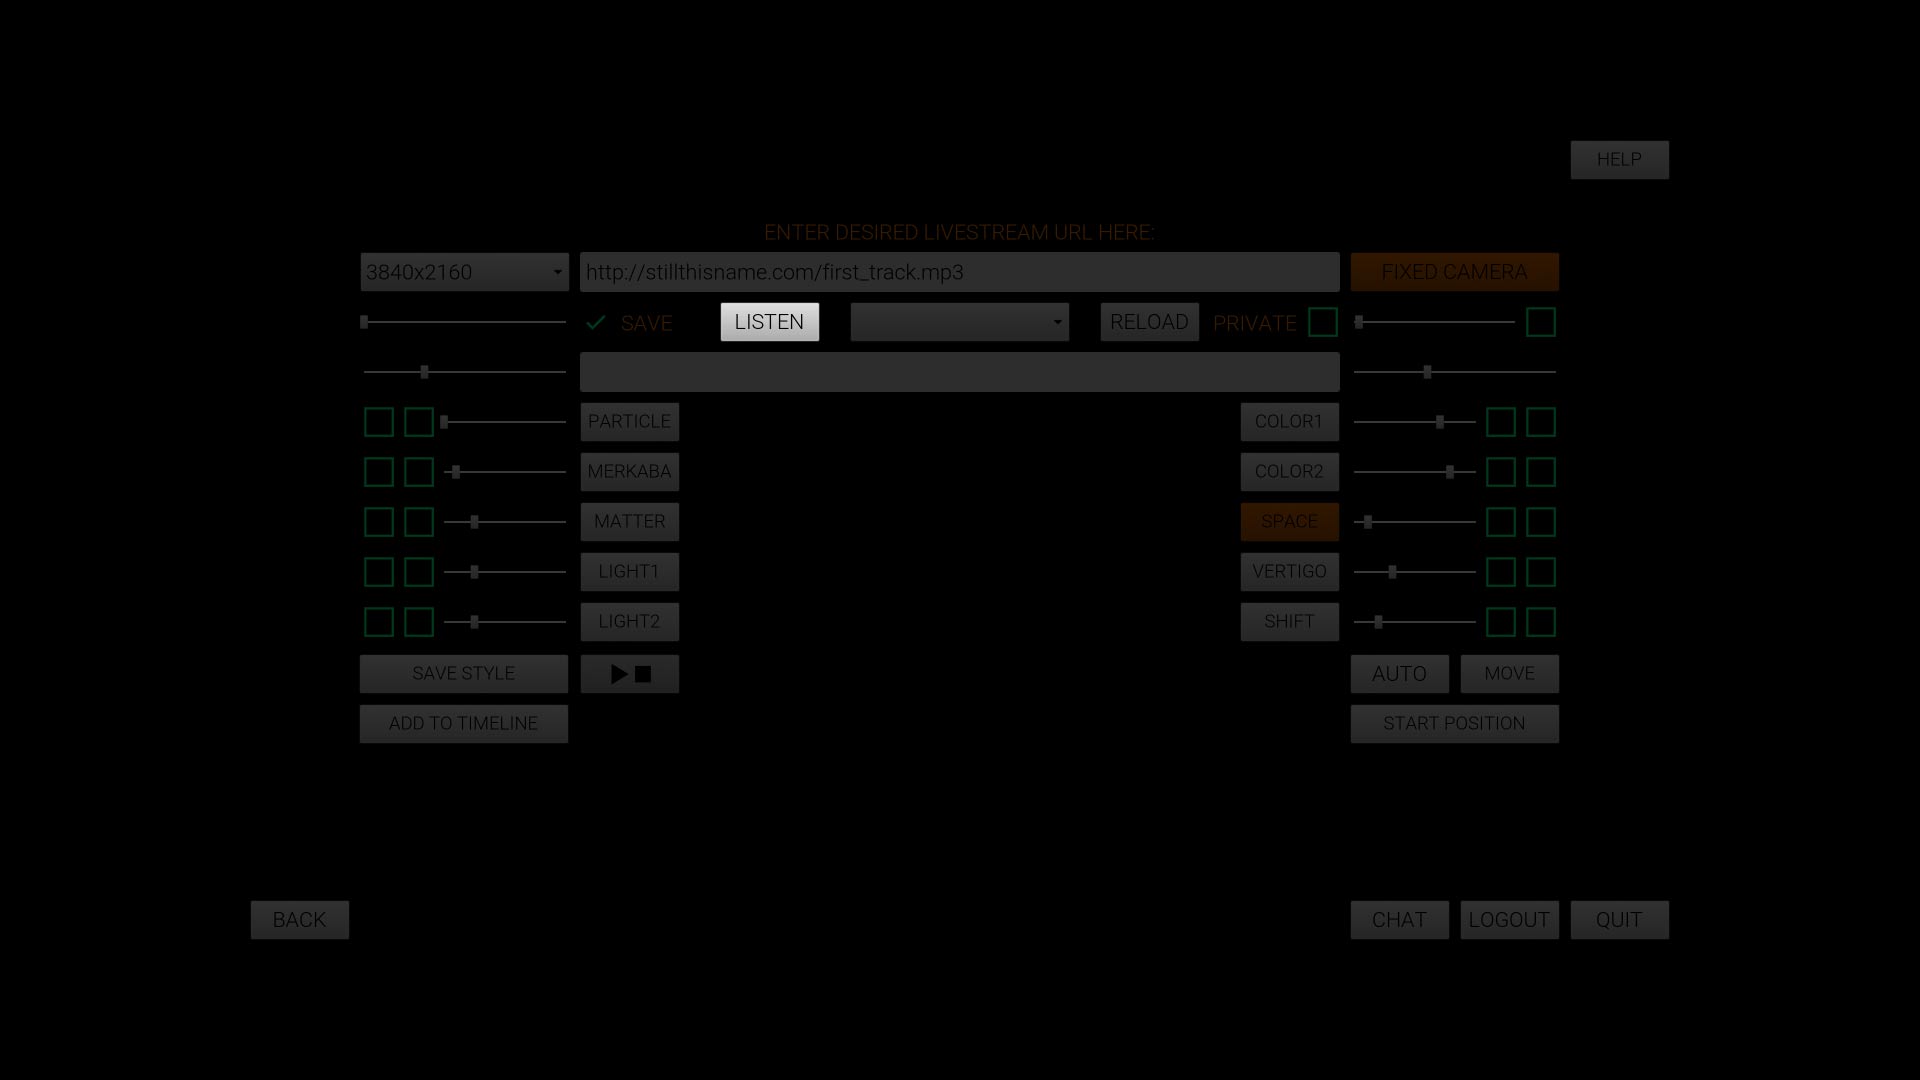
4. As soon as you finish input, press the LISTEN button and, after a small gap in time, you will hear the sound. Make sure that the URL is active and correct.
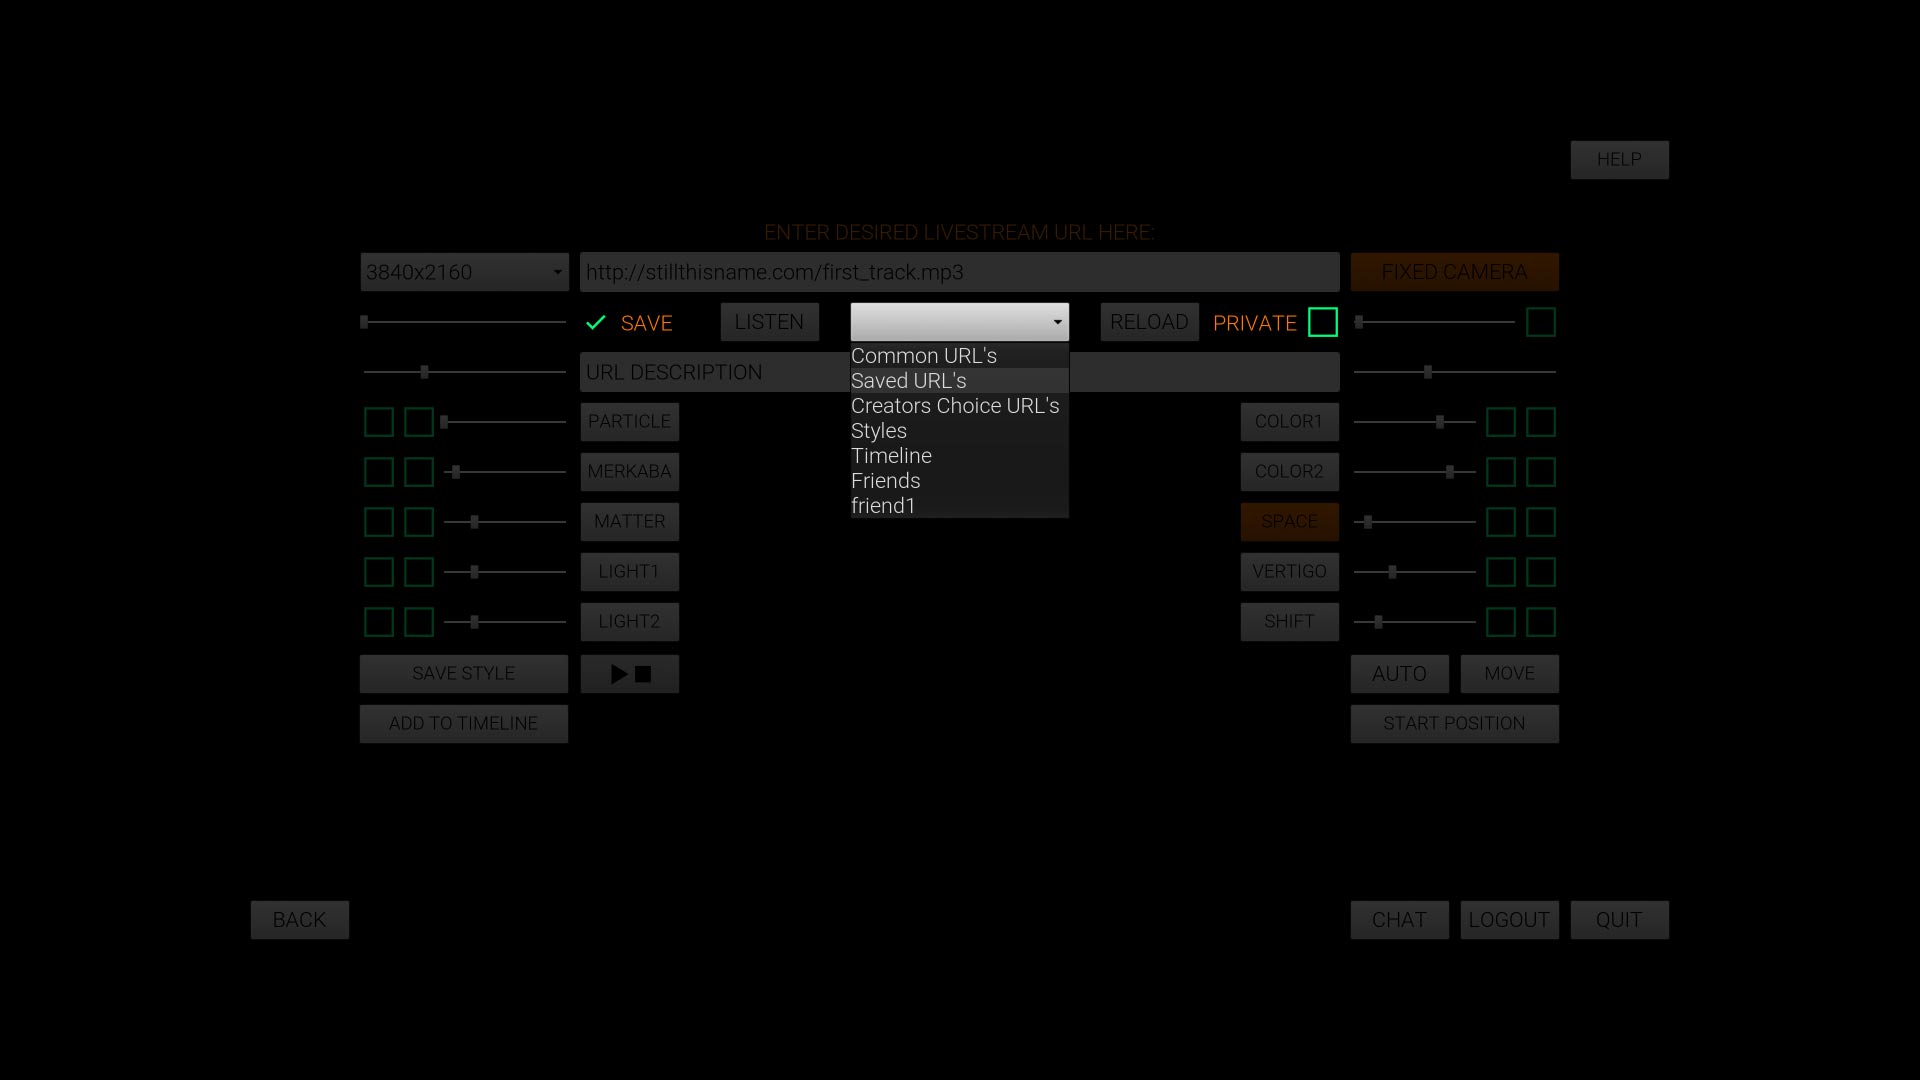
5. The next thing we would like to introduce you to is ComboBox.

6. If we click on COMMON URLs, we will see the URL we just entered. Every URL that has been recognized as an ACTIVE will appear in this section.
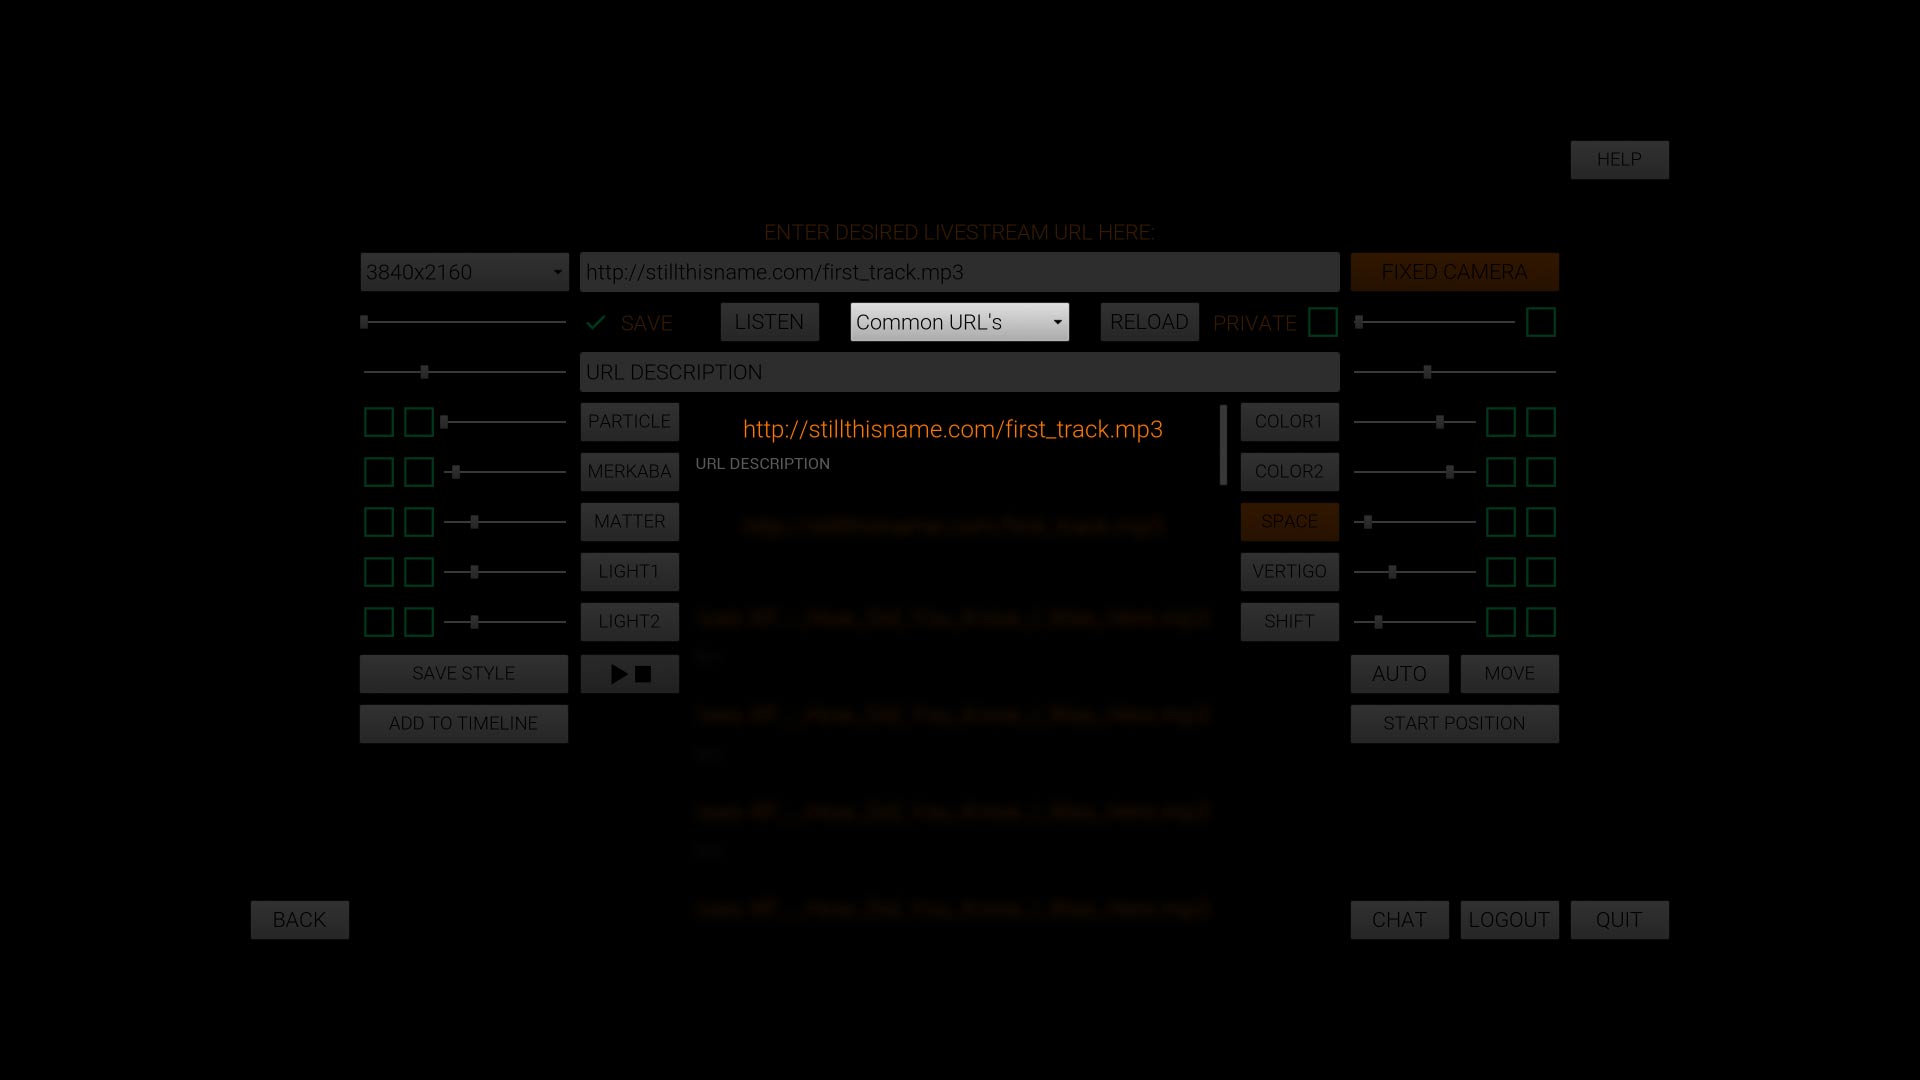
7. In case you would like to leave it private, activate corresponding checkbox. If SAVE is ticked, this URL will also go to the SAVED section, which is accessible for your friends and you only.
8. So, let's quit the menu by using the BACK button and hit "C". Now, we are inside of the cube and we can walk like in a video game.

9. Hit "C" once again and, let's get back to the menu by clicking TAB again.
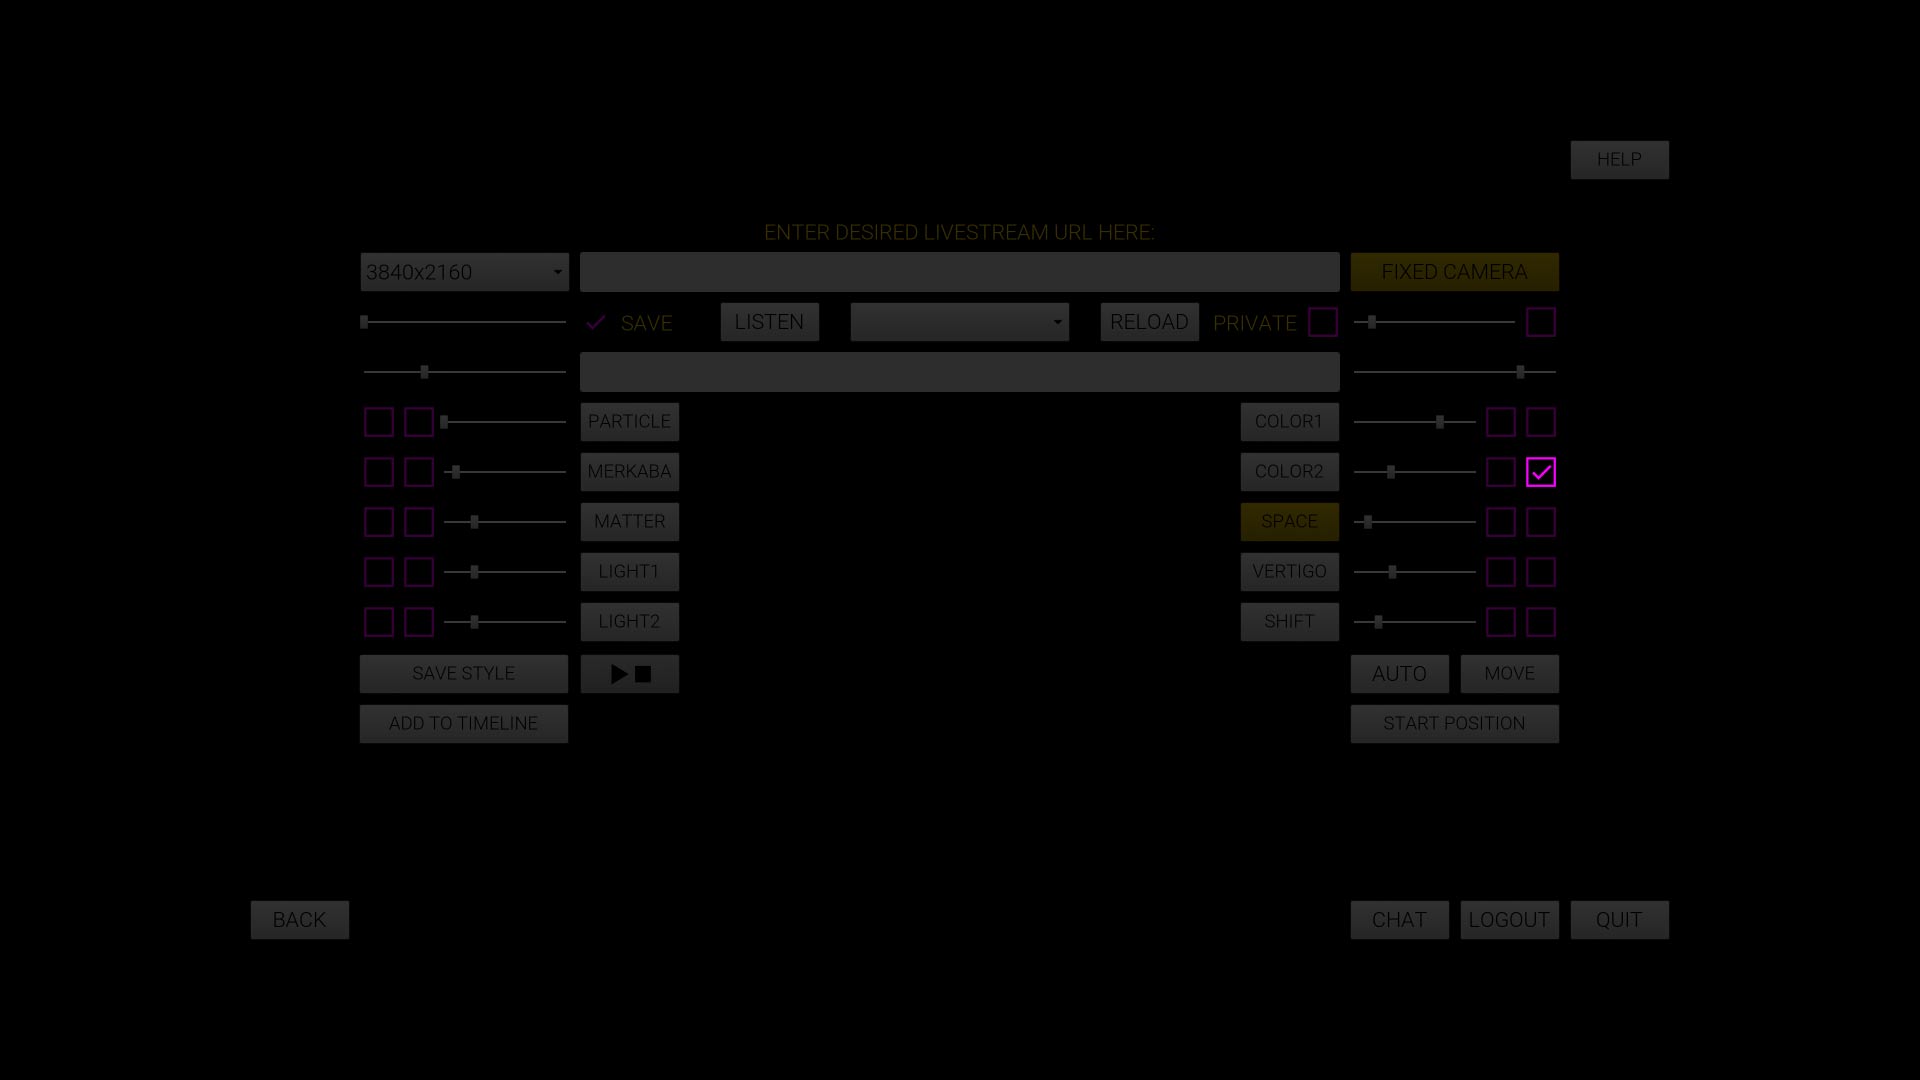
10. Next thing we would like to point on are these empty checkboxes on the right and left sides of the screen.
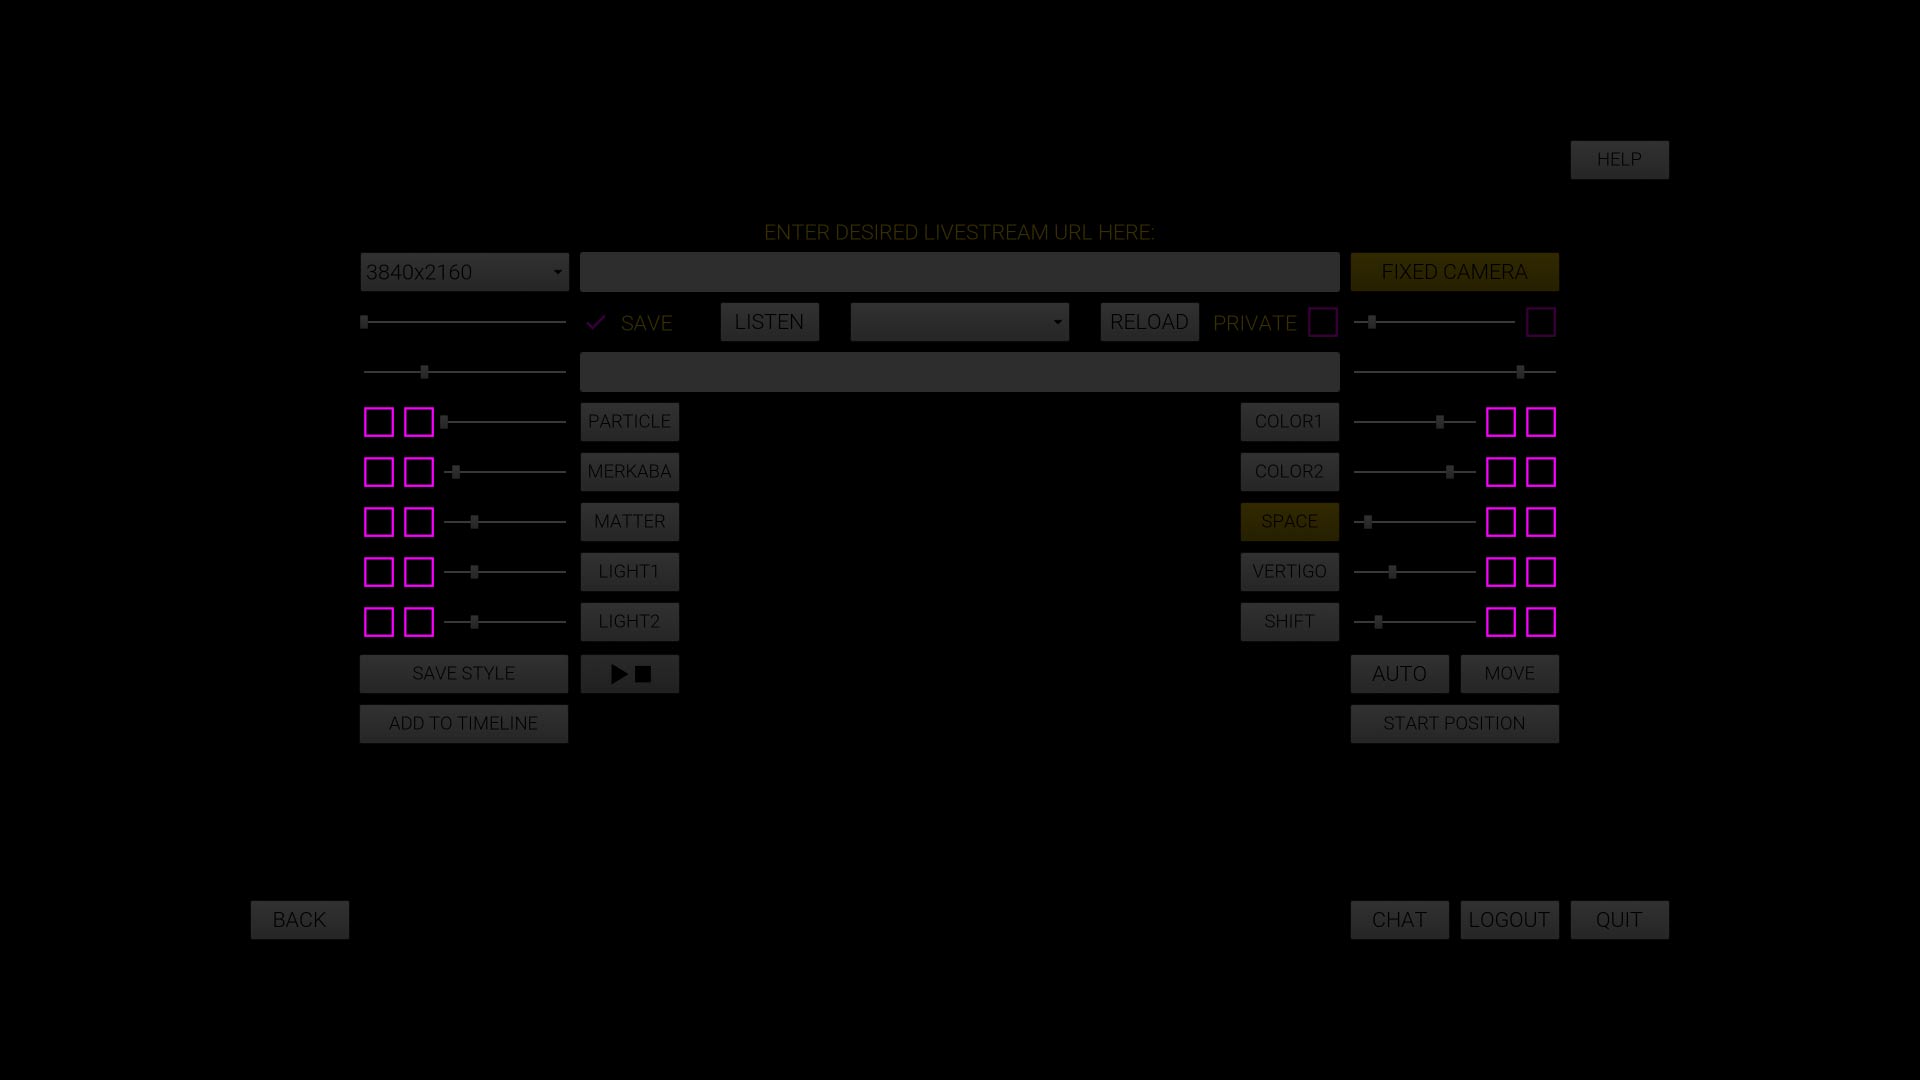
11. Rows first from the edge are mostly responsible for the animation functionality of an effect.
12. Two inner rows are mostly responsible for the reactive functionality of an effect.

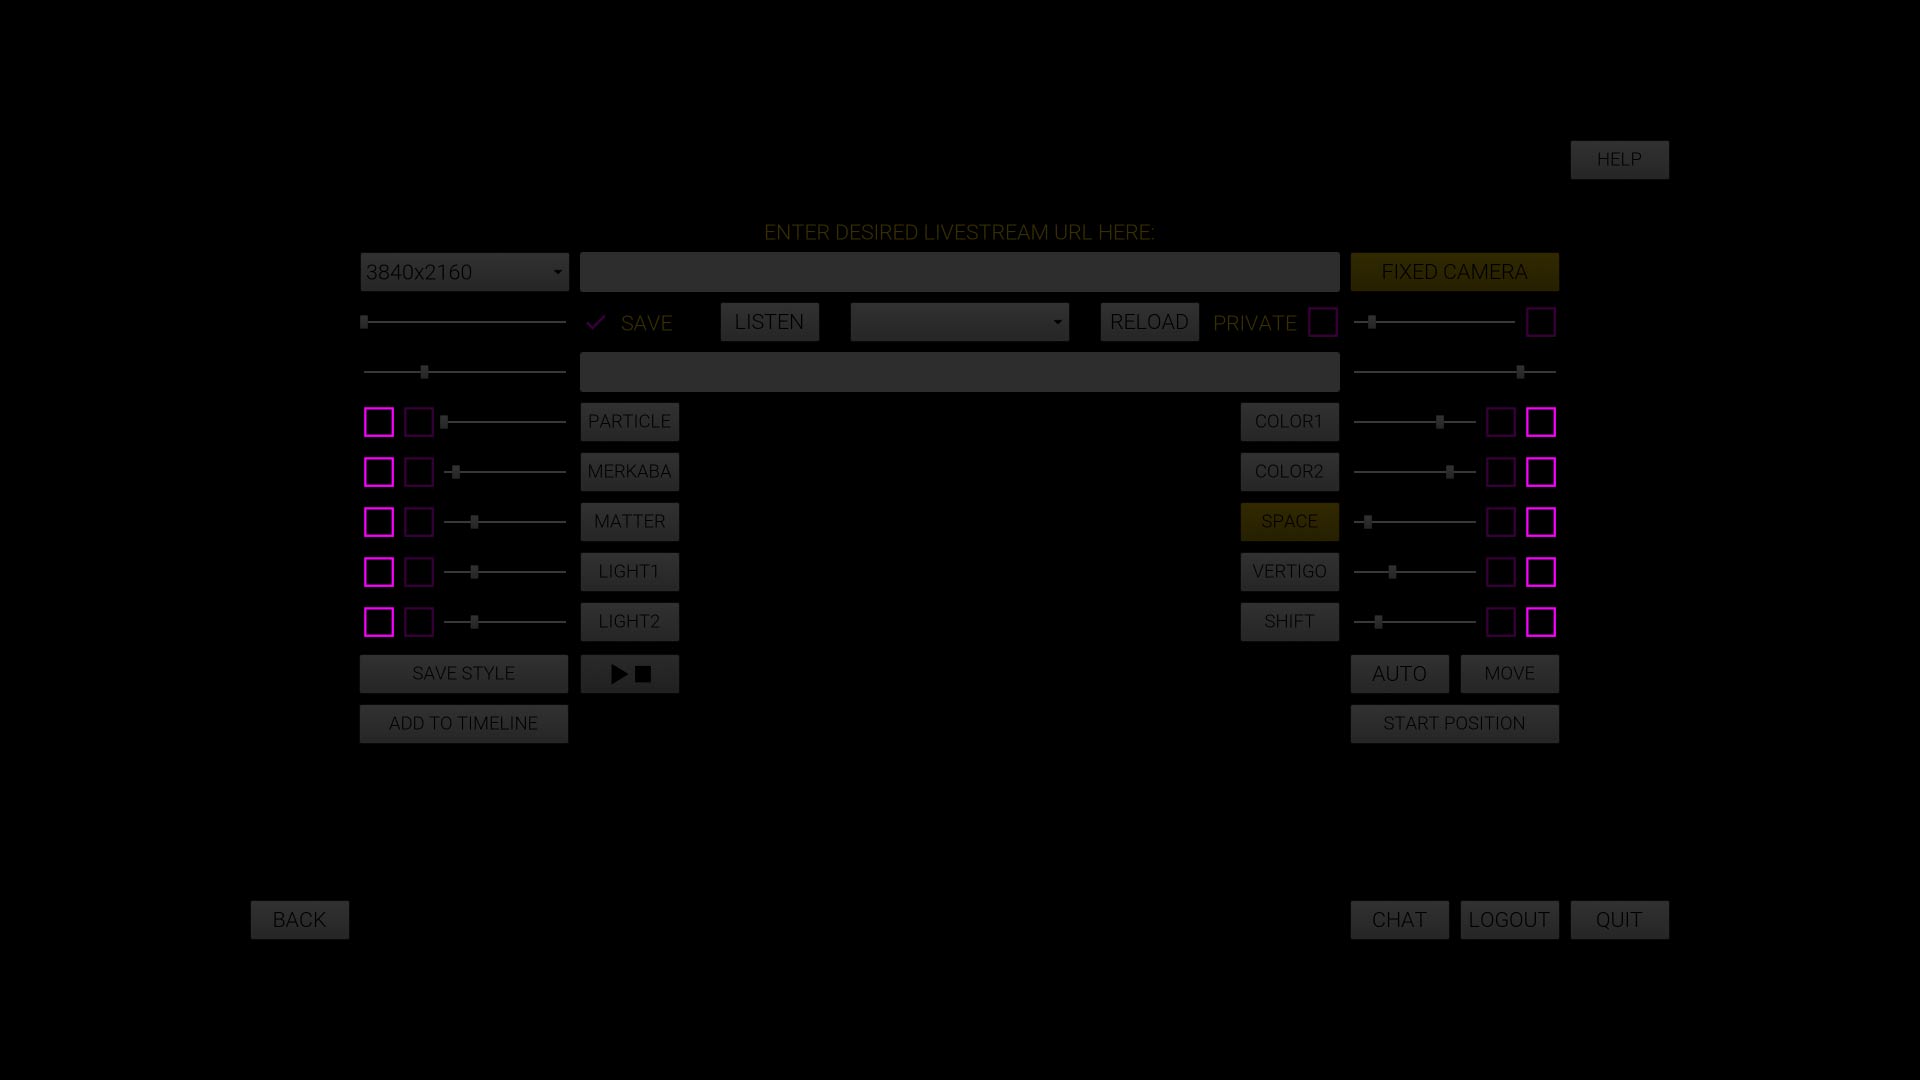
13. So, if you click the COLOR2 reactive checkbox, for instance, you will see that our particle cloud is now glowing in a sound-reactive color.

14. If you unclick this checkbox and choose the one dedicated to animation, you will see that the color is now changing over time.
Sometimes this scheme is different, sometimes those checkboxes have other functionality. Simply try and see what they are for.
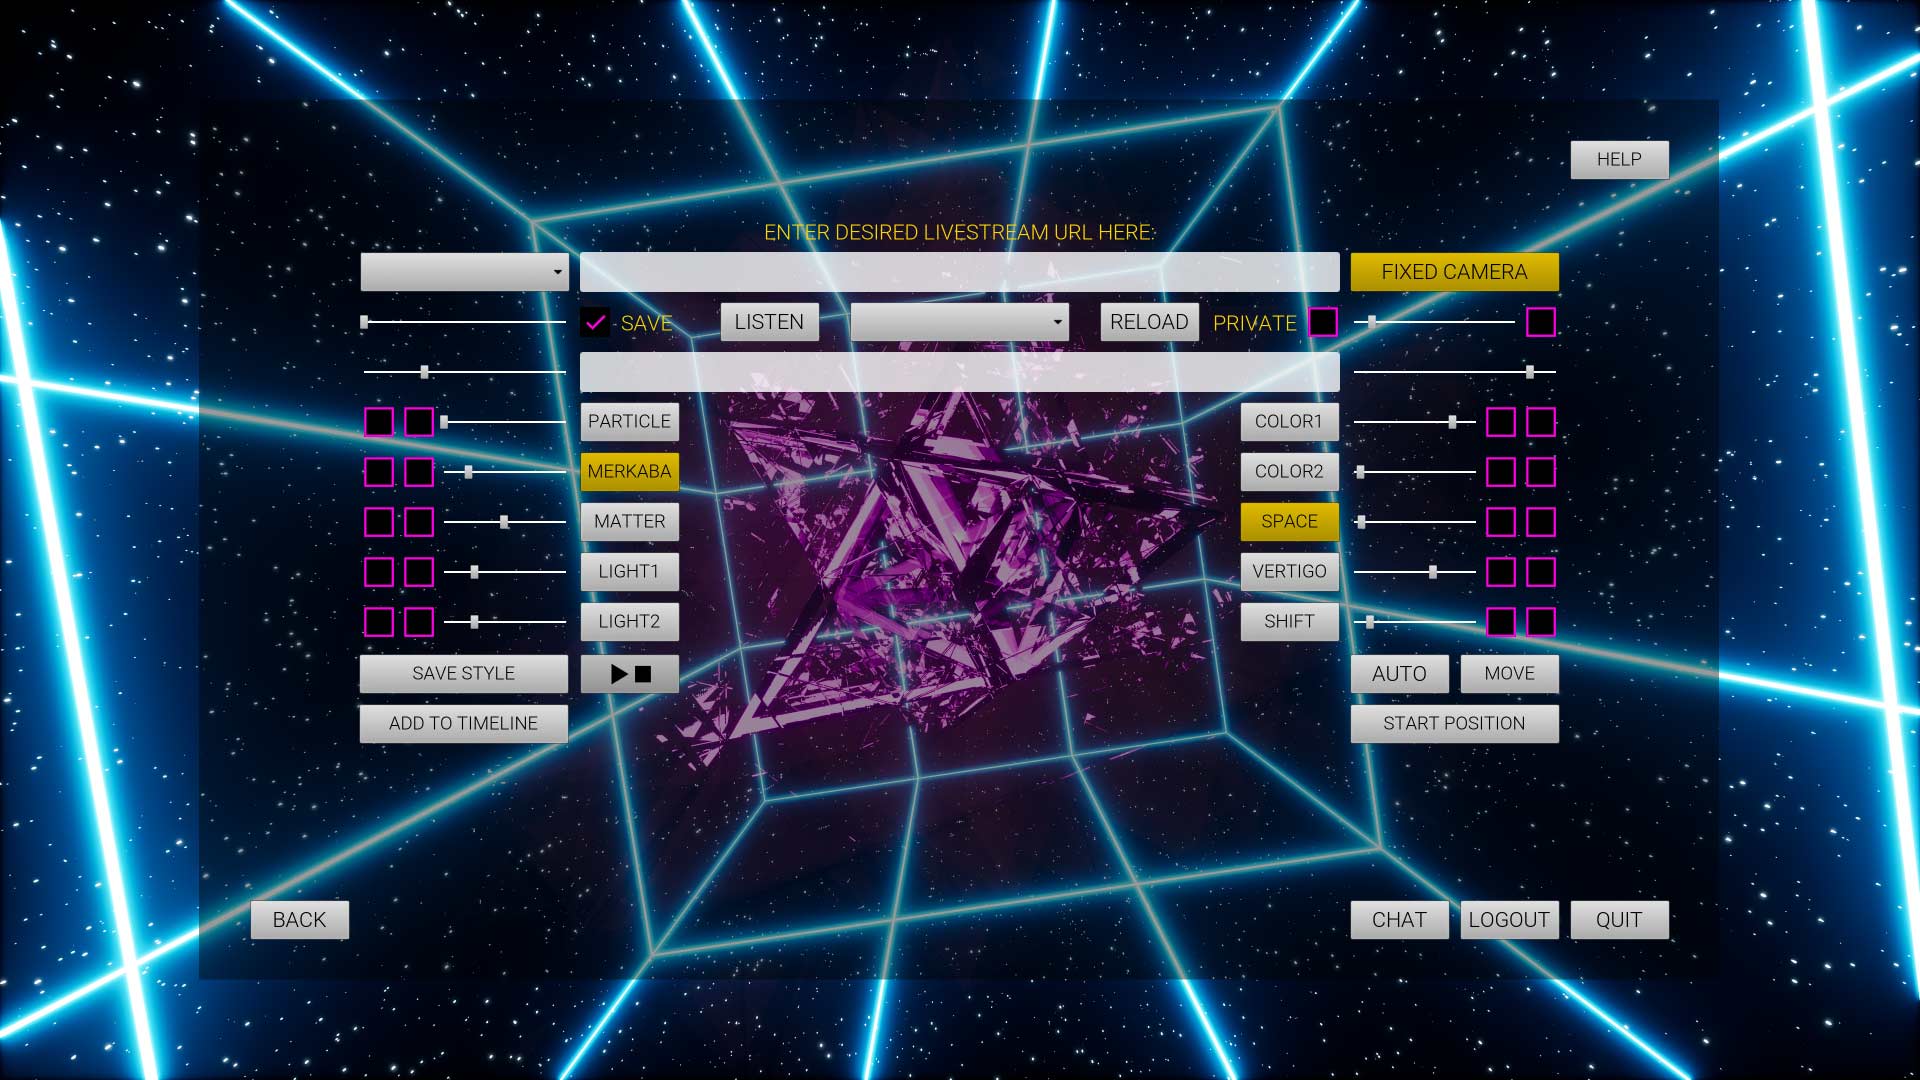
15. If you click the SPACE button, you will turn on/off the grid.
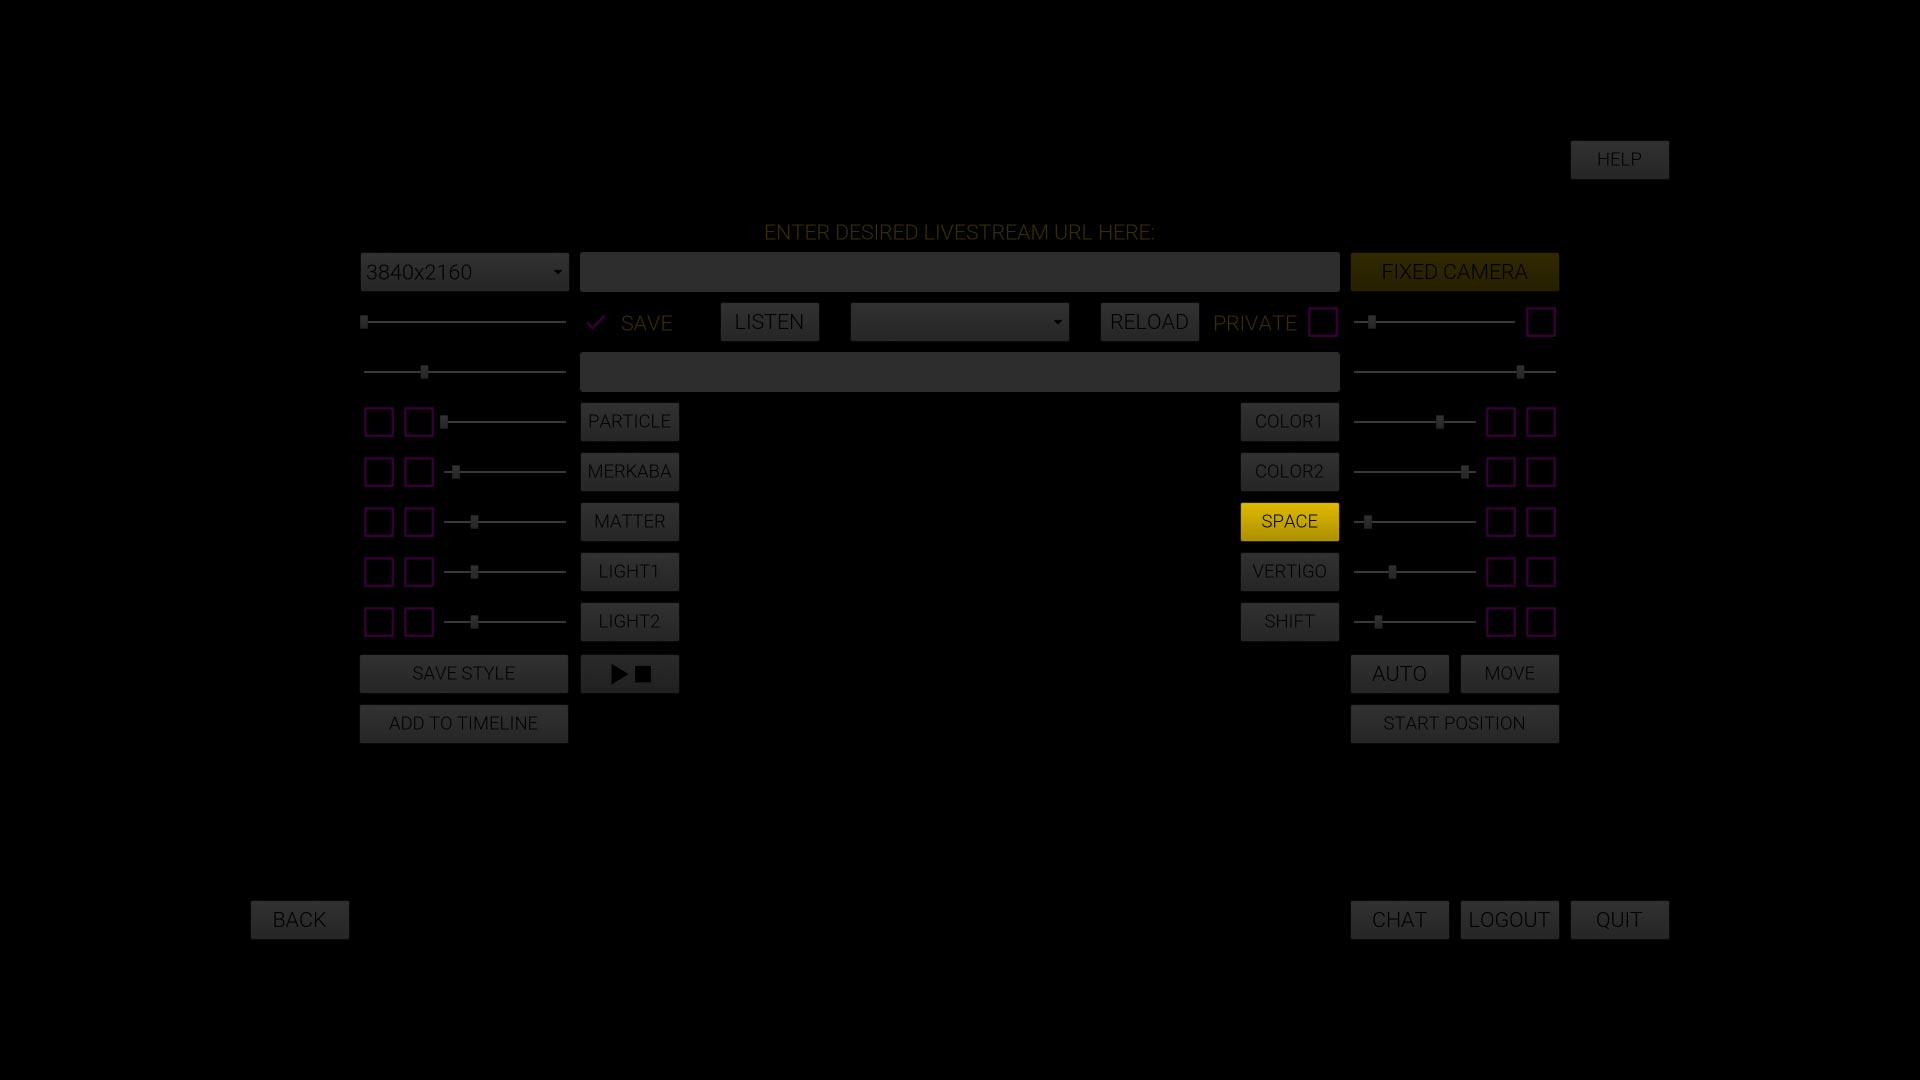
16. If you activate the inner checkbox, you will see that Combobox appears in place of the slider.
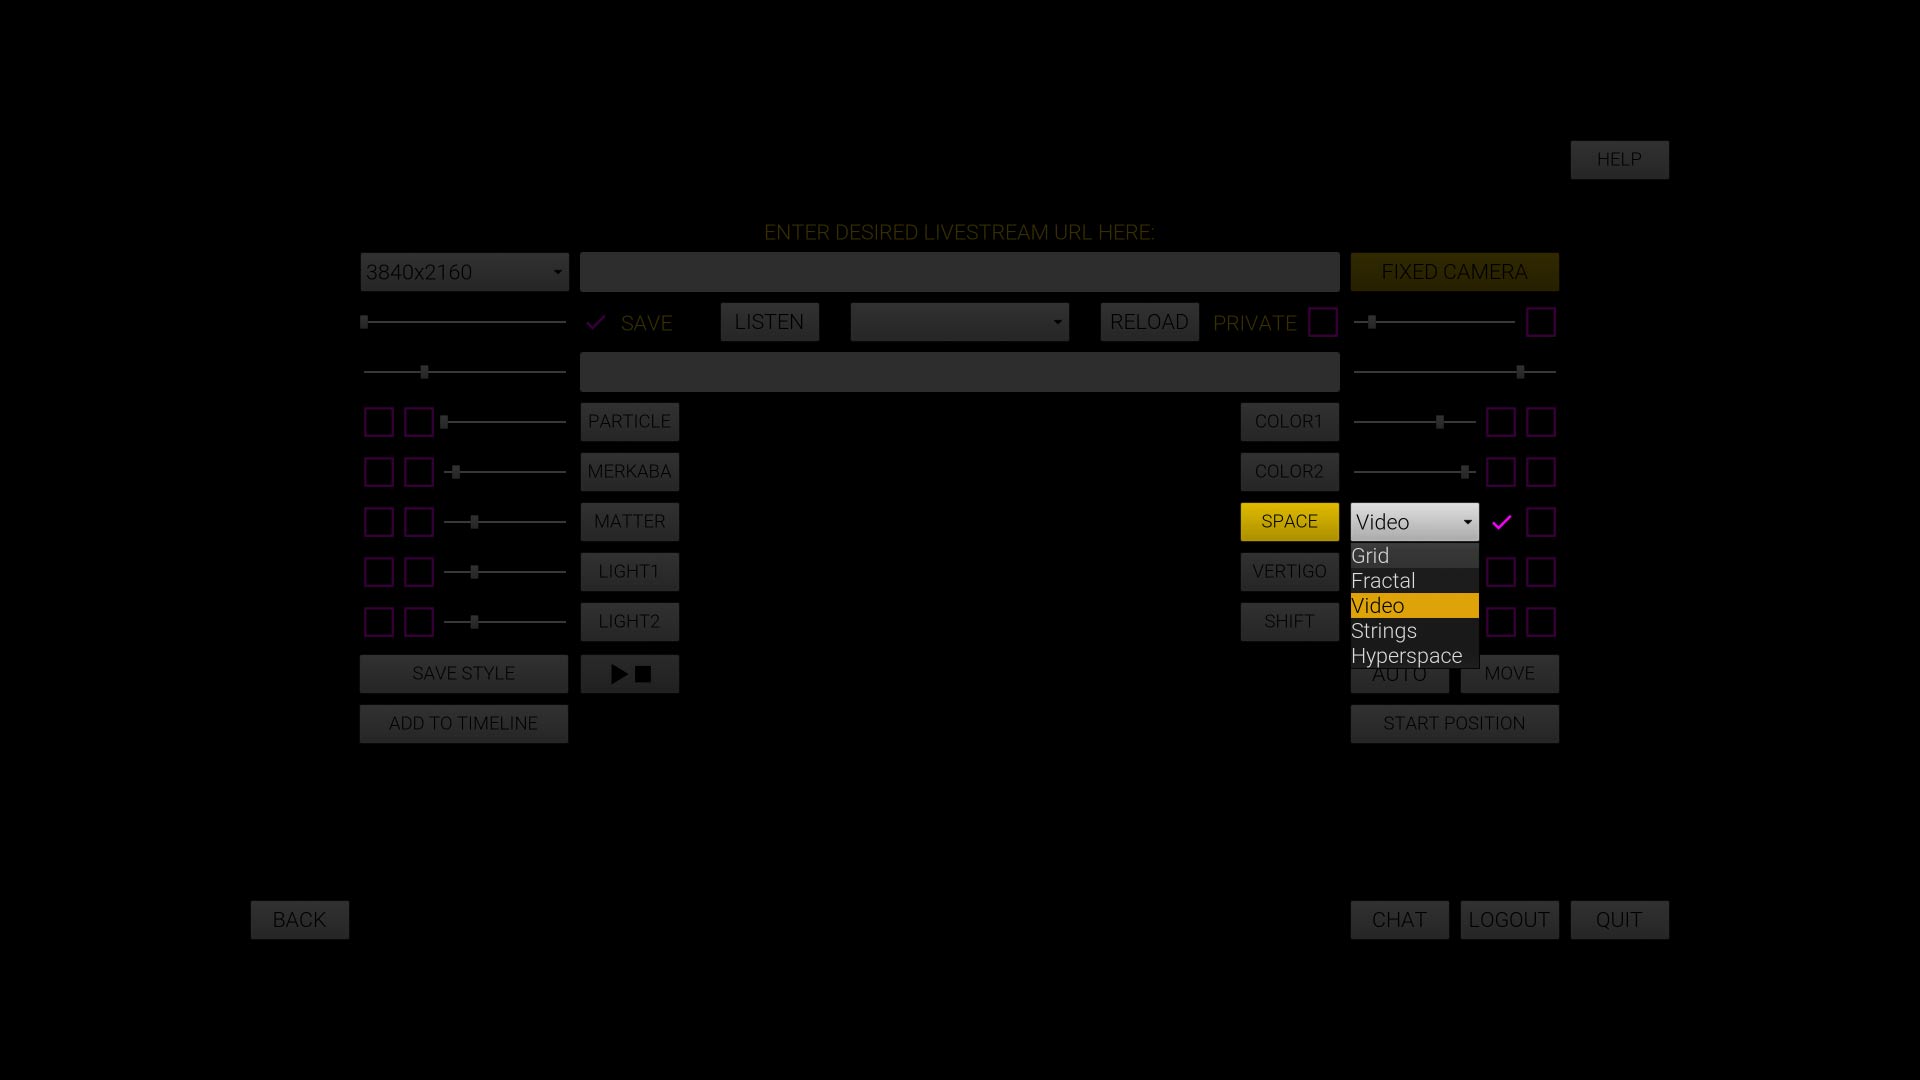
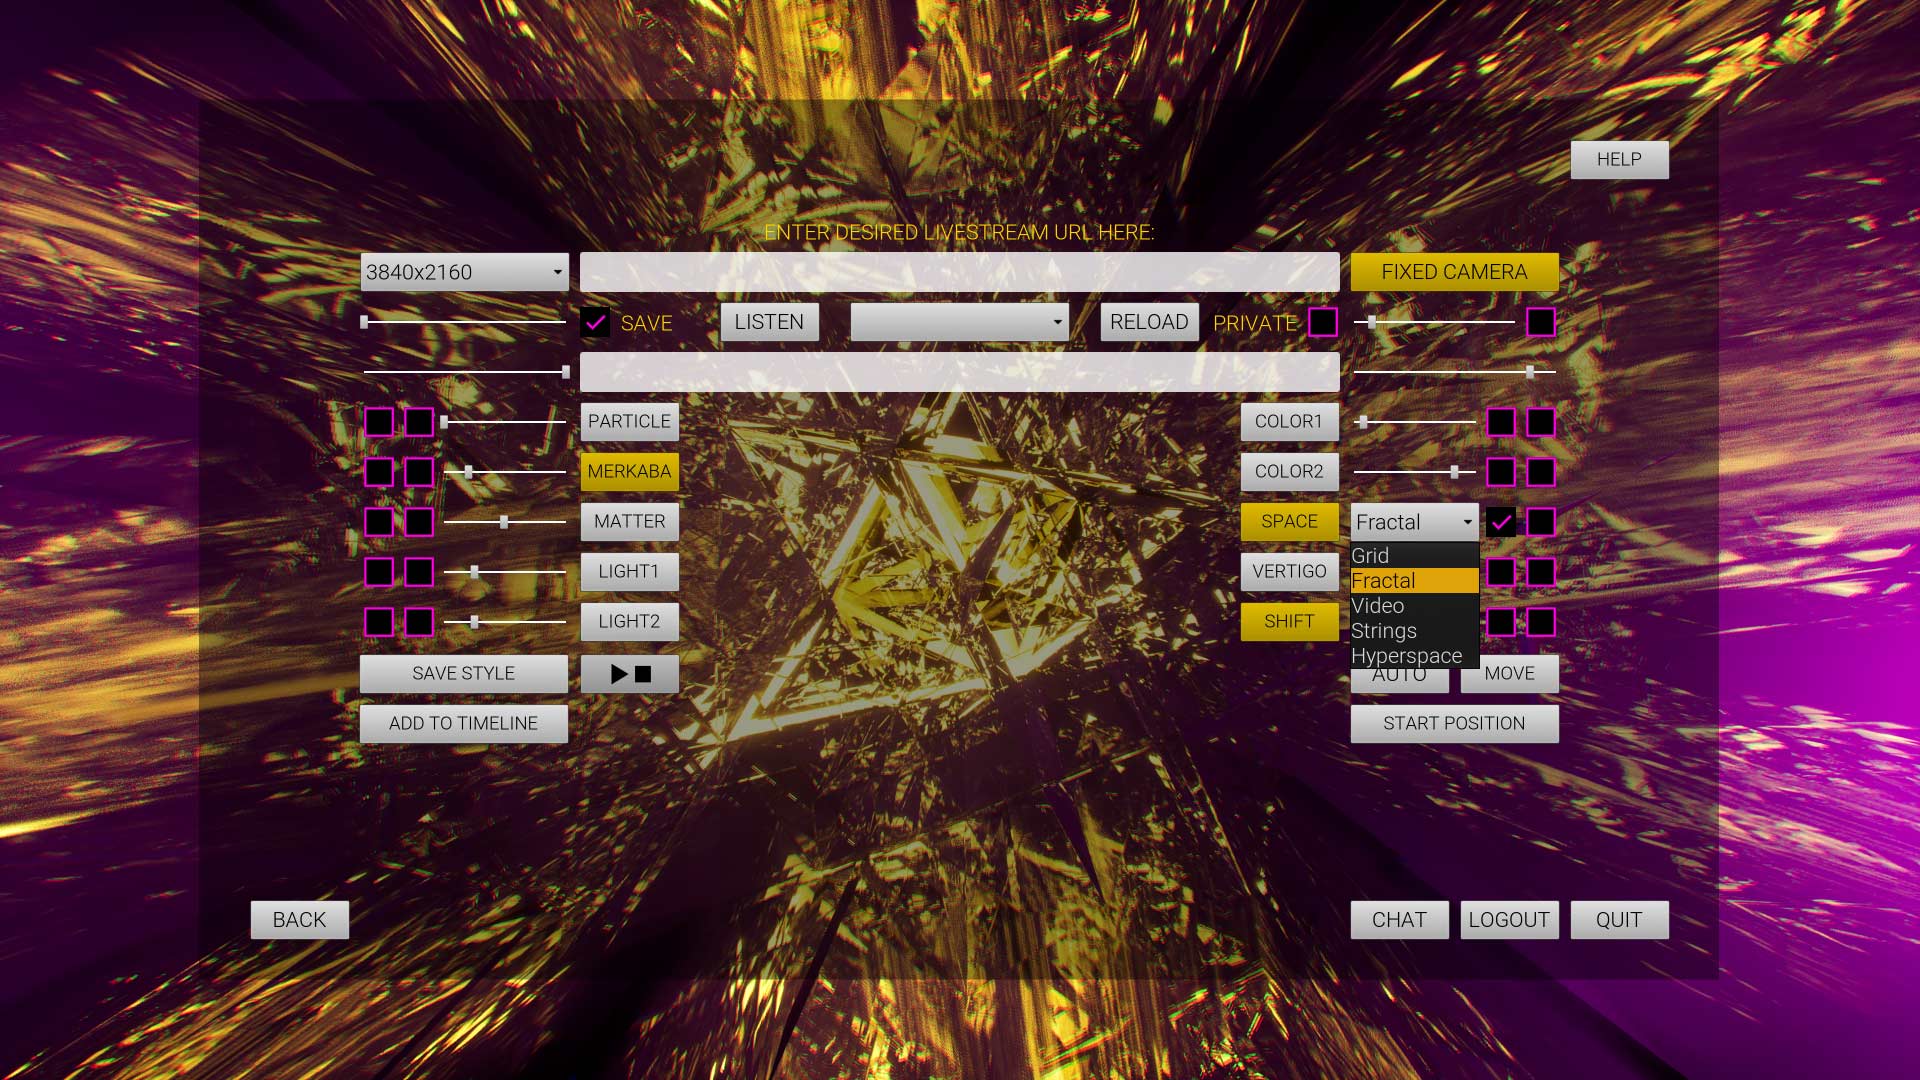
17. Here you can select what type of outer mesh will surround our main object.
If you select the Fractal, you will see this Fractal surrounding.
18. There are some kind of common rules for the entire effects system.
Let's have a look at VERTIGO option, for example. If neither REACTIVE nor ANIMATION checkbox is clicked, the slider will adjust the amount of an effect. If you click the ANIMATION or REACTIVE checkbox, you will see that this amount also adjusts the maximum amplitude of an effect.
If you click the REACTIVE checkbox and try to move the slider, you will adjust the lower threshold of an effect. If you click the ANIMATION checkbox of an effect and try to move the slider, you will adjust the playback speed of an effect.
19. The same is for the SHIFT.
20. On the other side of the screen, the same scheme but the position of the checkbox, as we mentioned before, is vice versa (from right to left).
21. SPACE MATTER and LIGHT are somewhat different. In case of these two, if you activate the inner checkbox (REACTIVE) you will see ComboBoxes in which you can choose the look of an effect. Outer (ANIMATION) checkboxes sometimes play their role here but sometimes adjust the special abilities of an effect.
To guide you, there is a help message on the screen while you are moving the slider.
22. Please note that VERTIGO and SHIFT effects work only when FIXED CAMERA button is pressed.
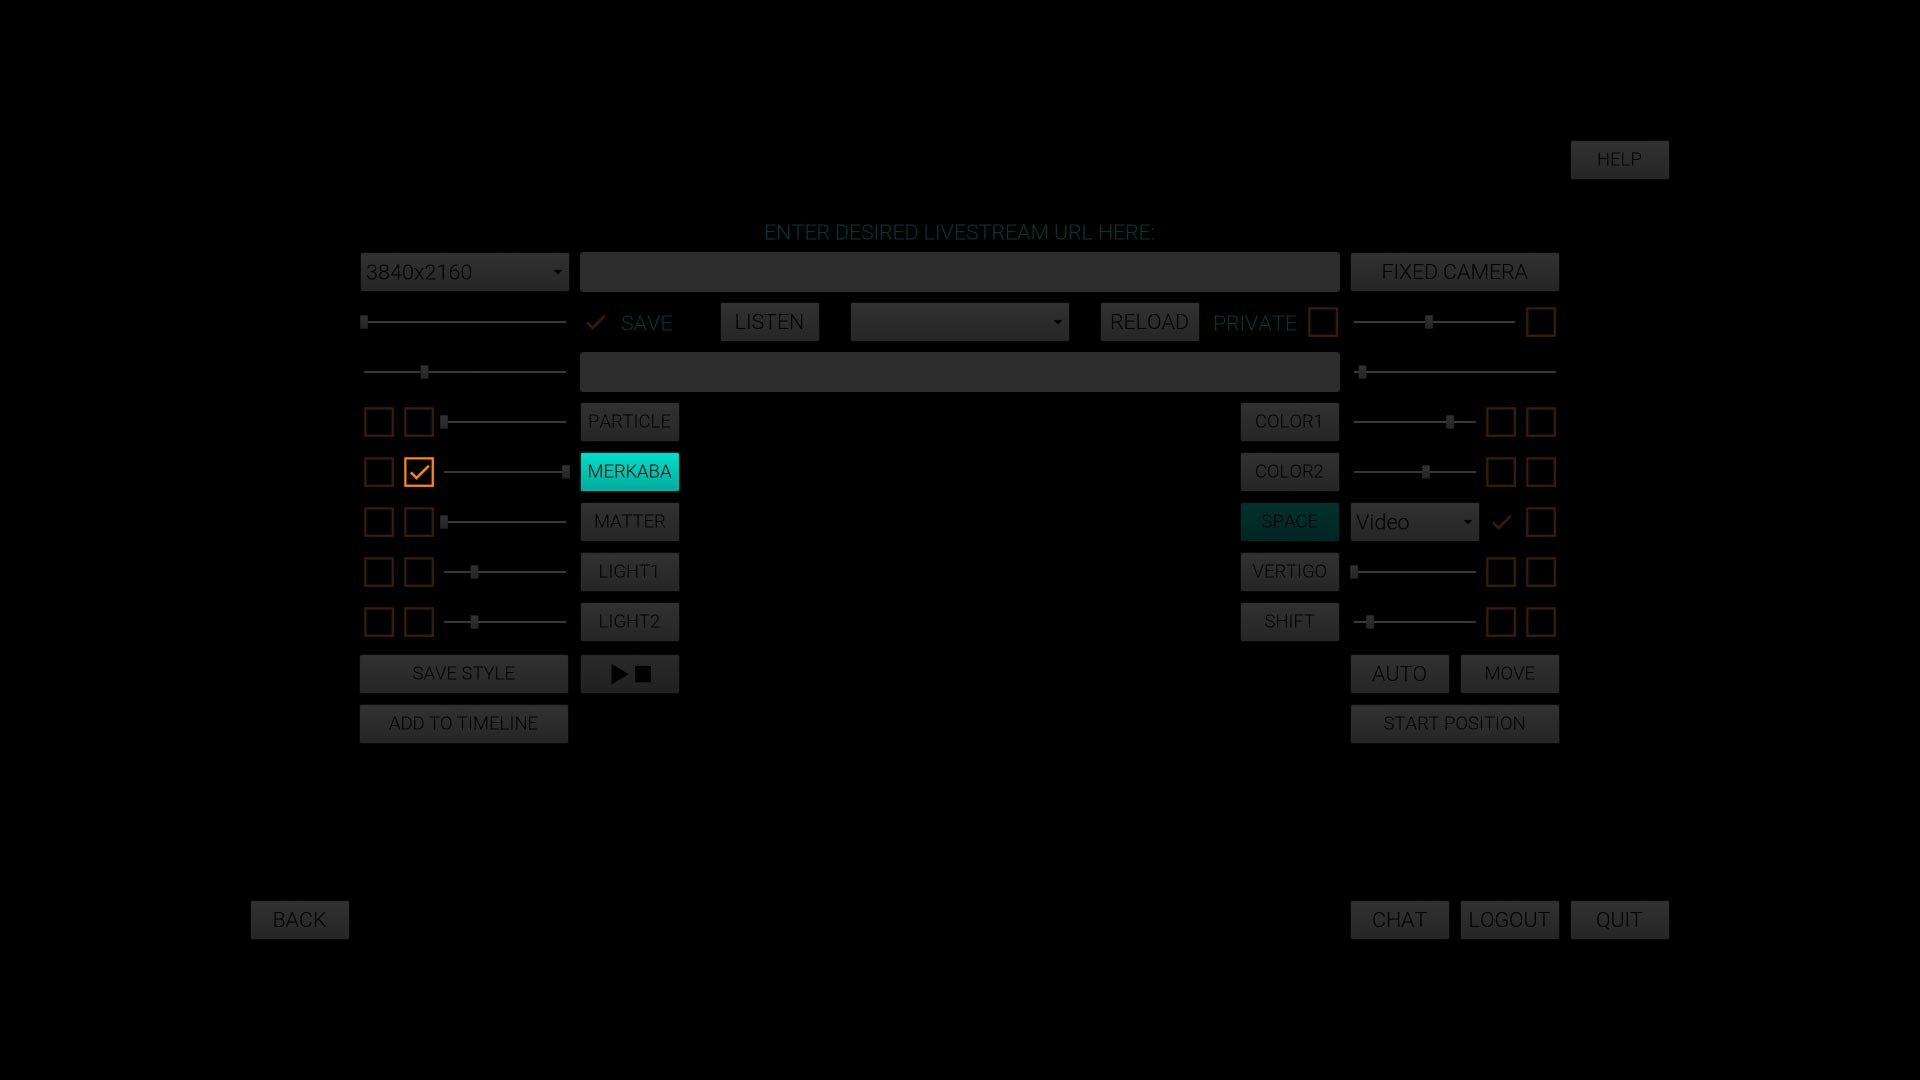
23. MERKABA.
If no options are chosen, by moving the slider, you can choose the geometry style.
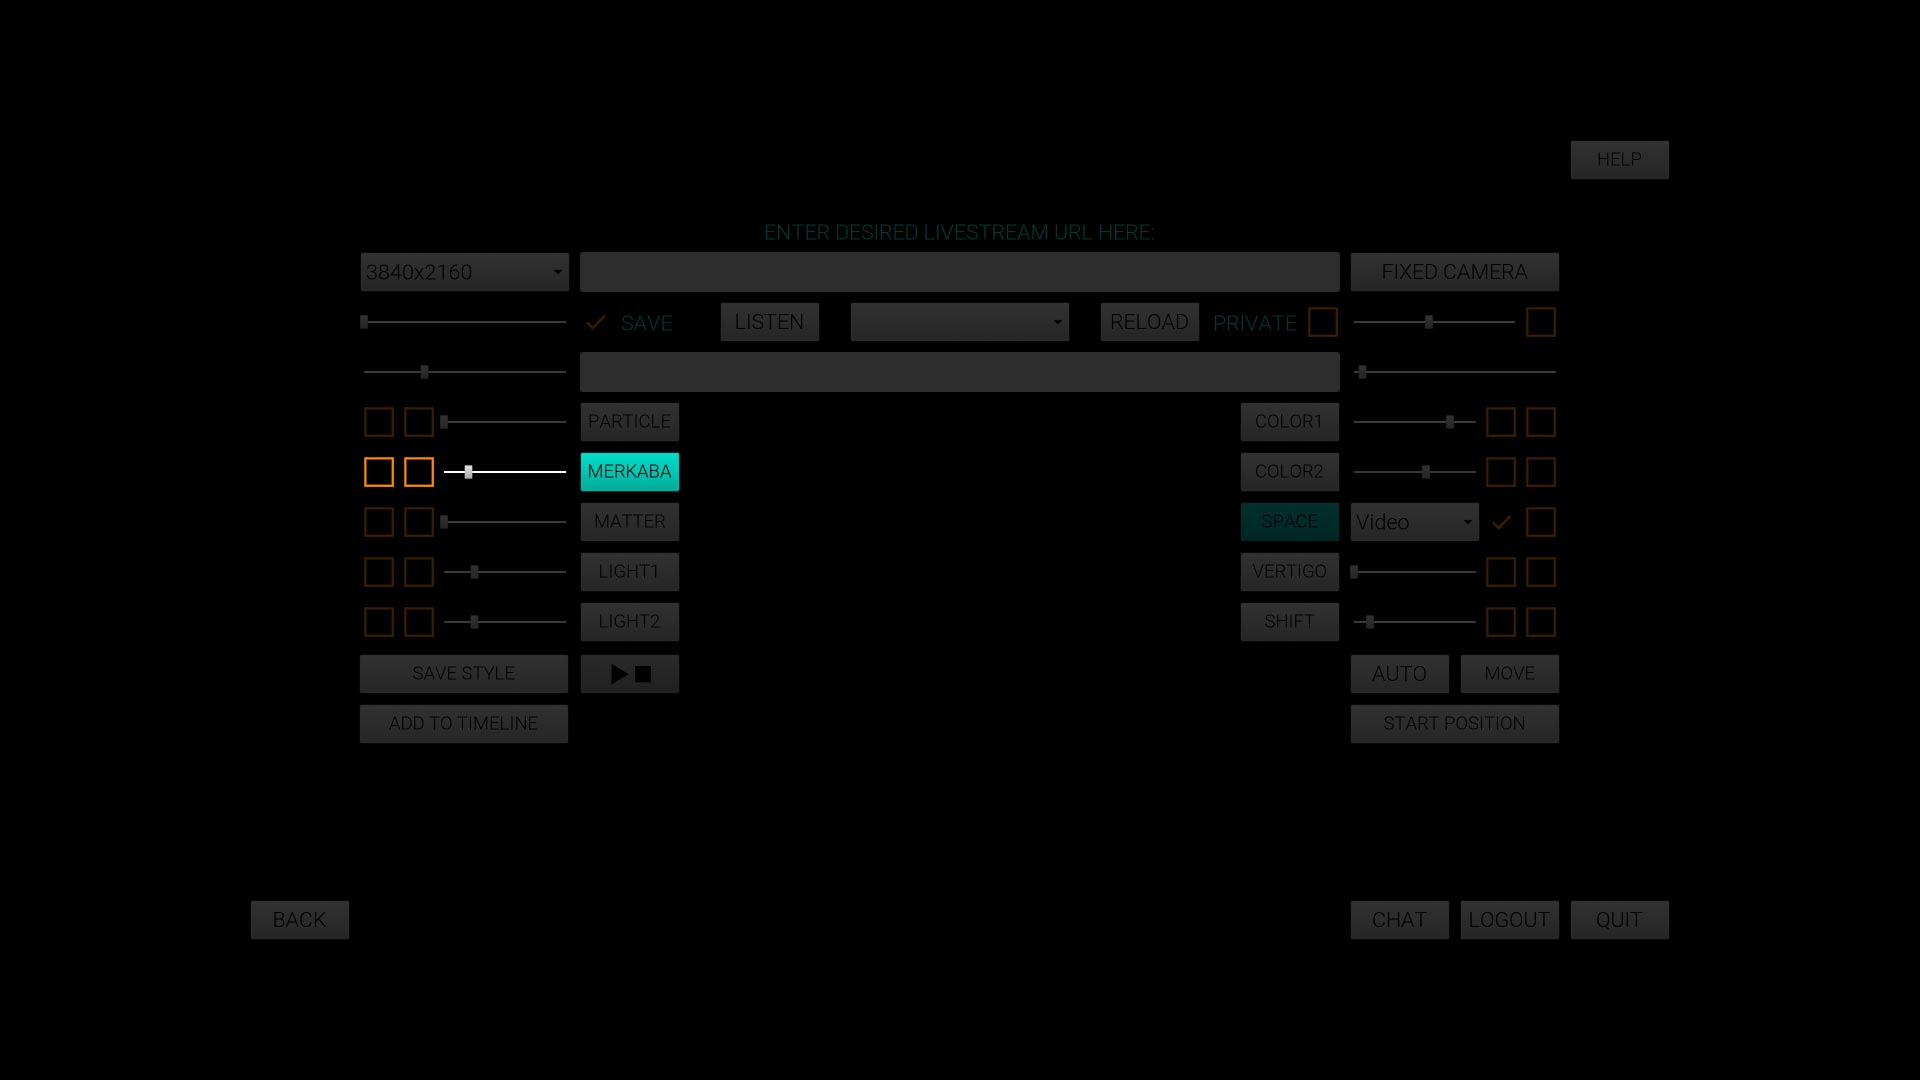
24. You will need to click back the REACTIVE box because Merkaba animation freezes as soon as it becomes unclicked.
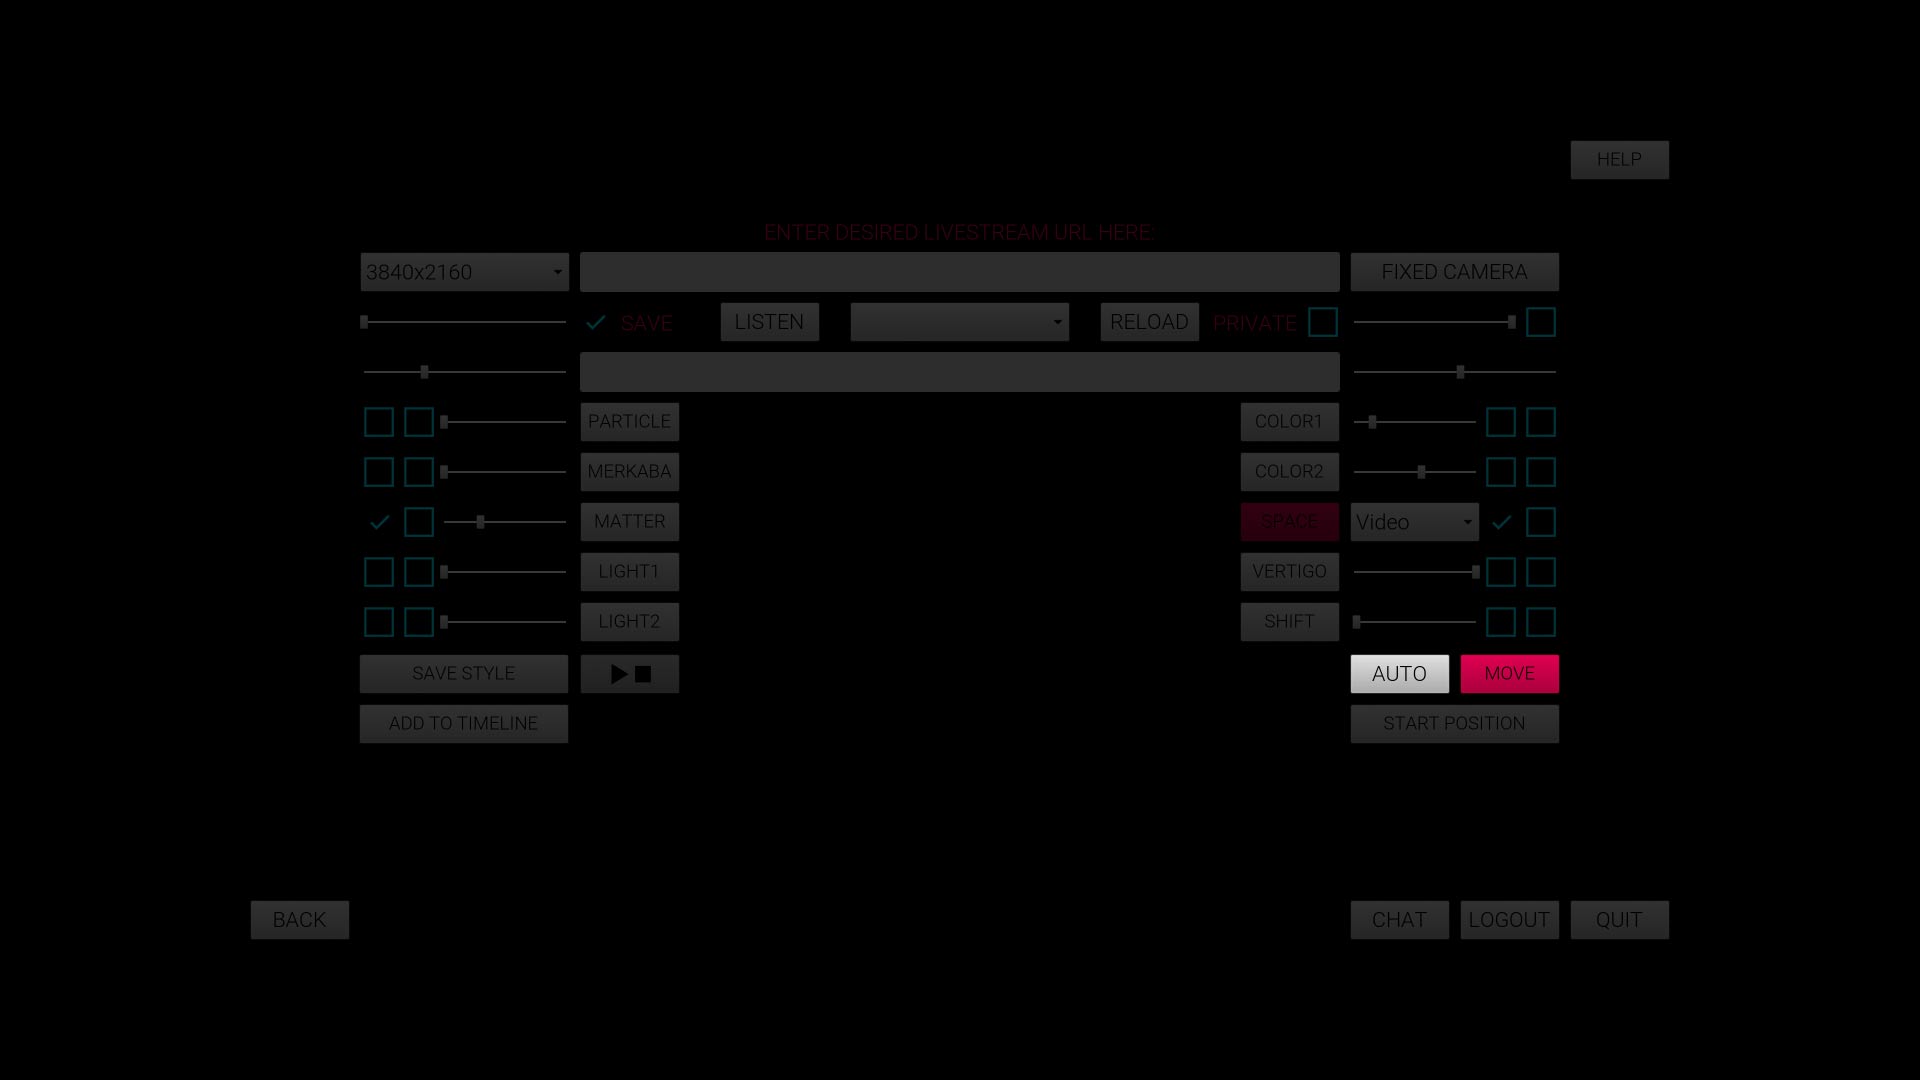
25. Clicking AUTO turns on DEMO MODE. In this case, effects will be automatically activated over time. MOVE is responsible for automatic movement.
26. On the upper left side, there are:
Screen Resolution switch Combobox,
Gravitational Force speed slider,
Reactive Brightness slider.
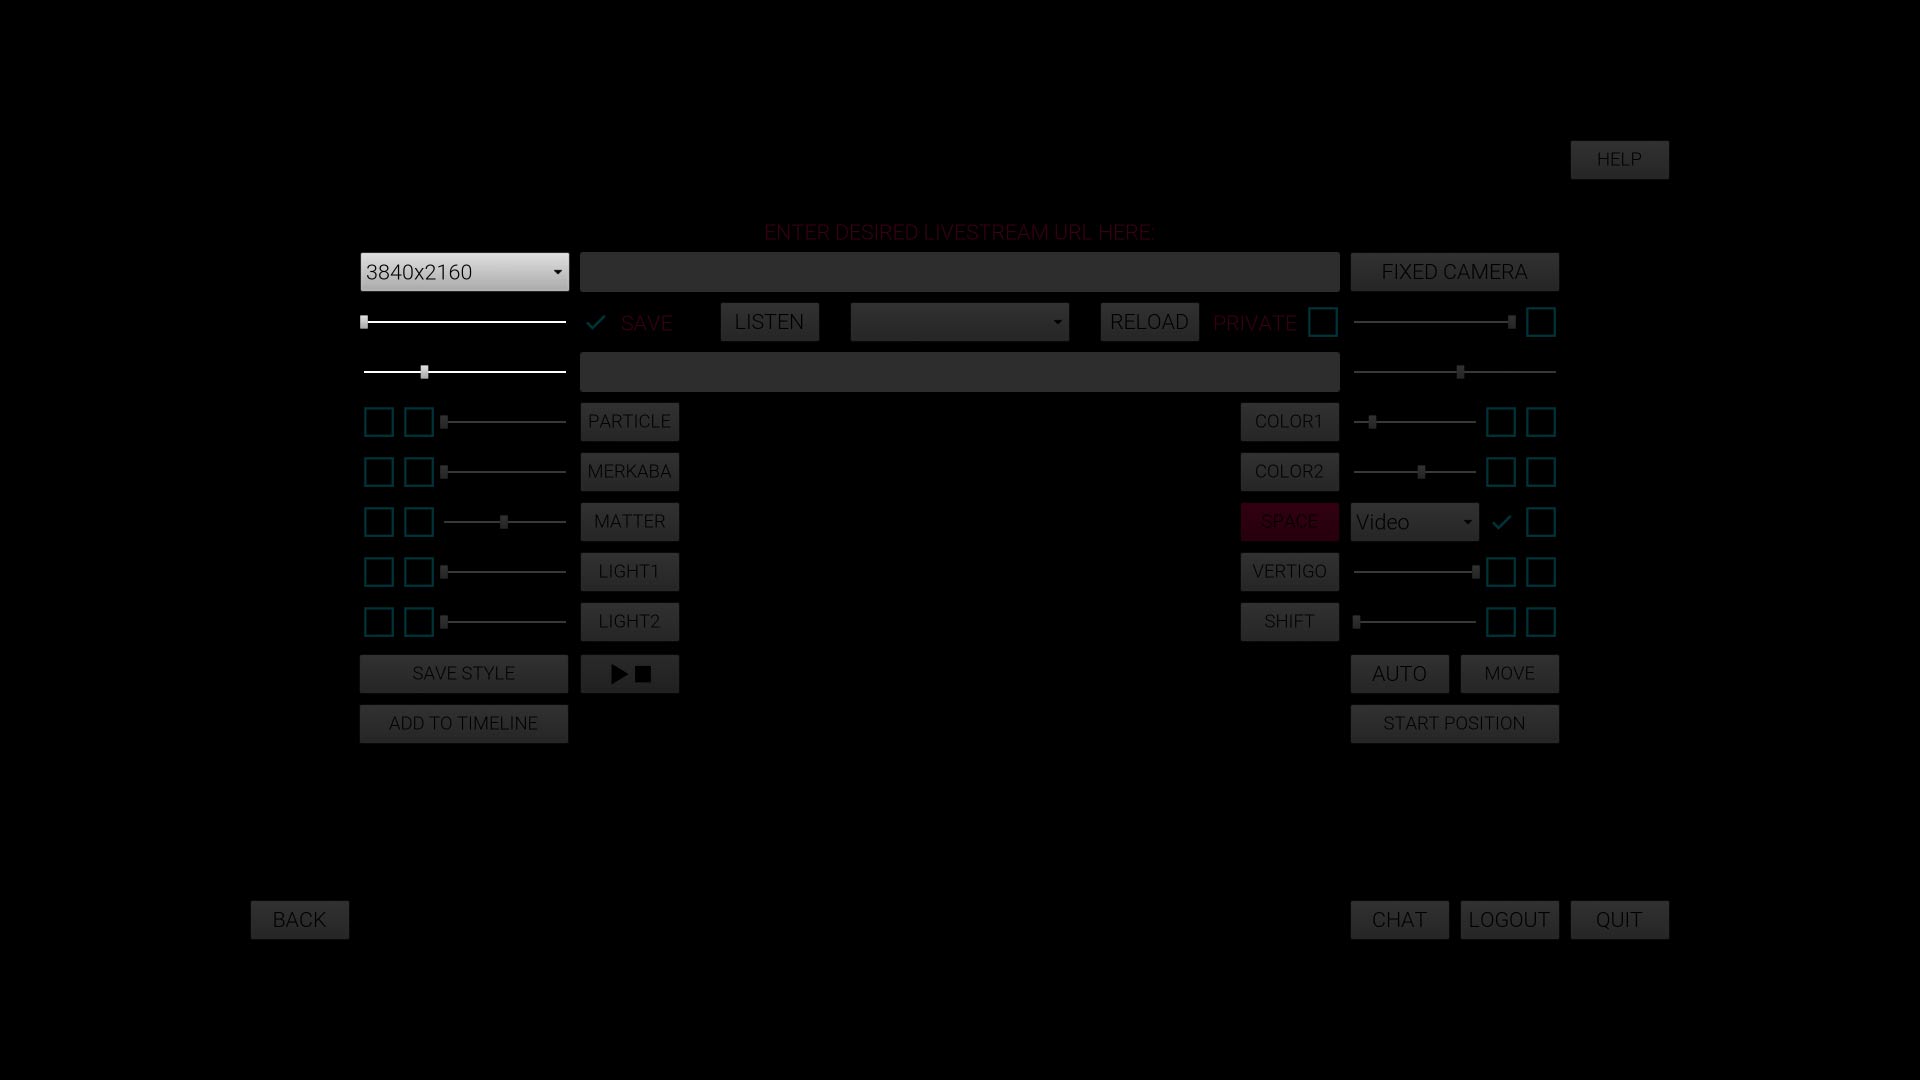
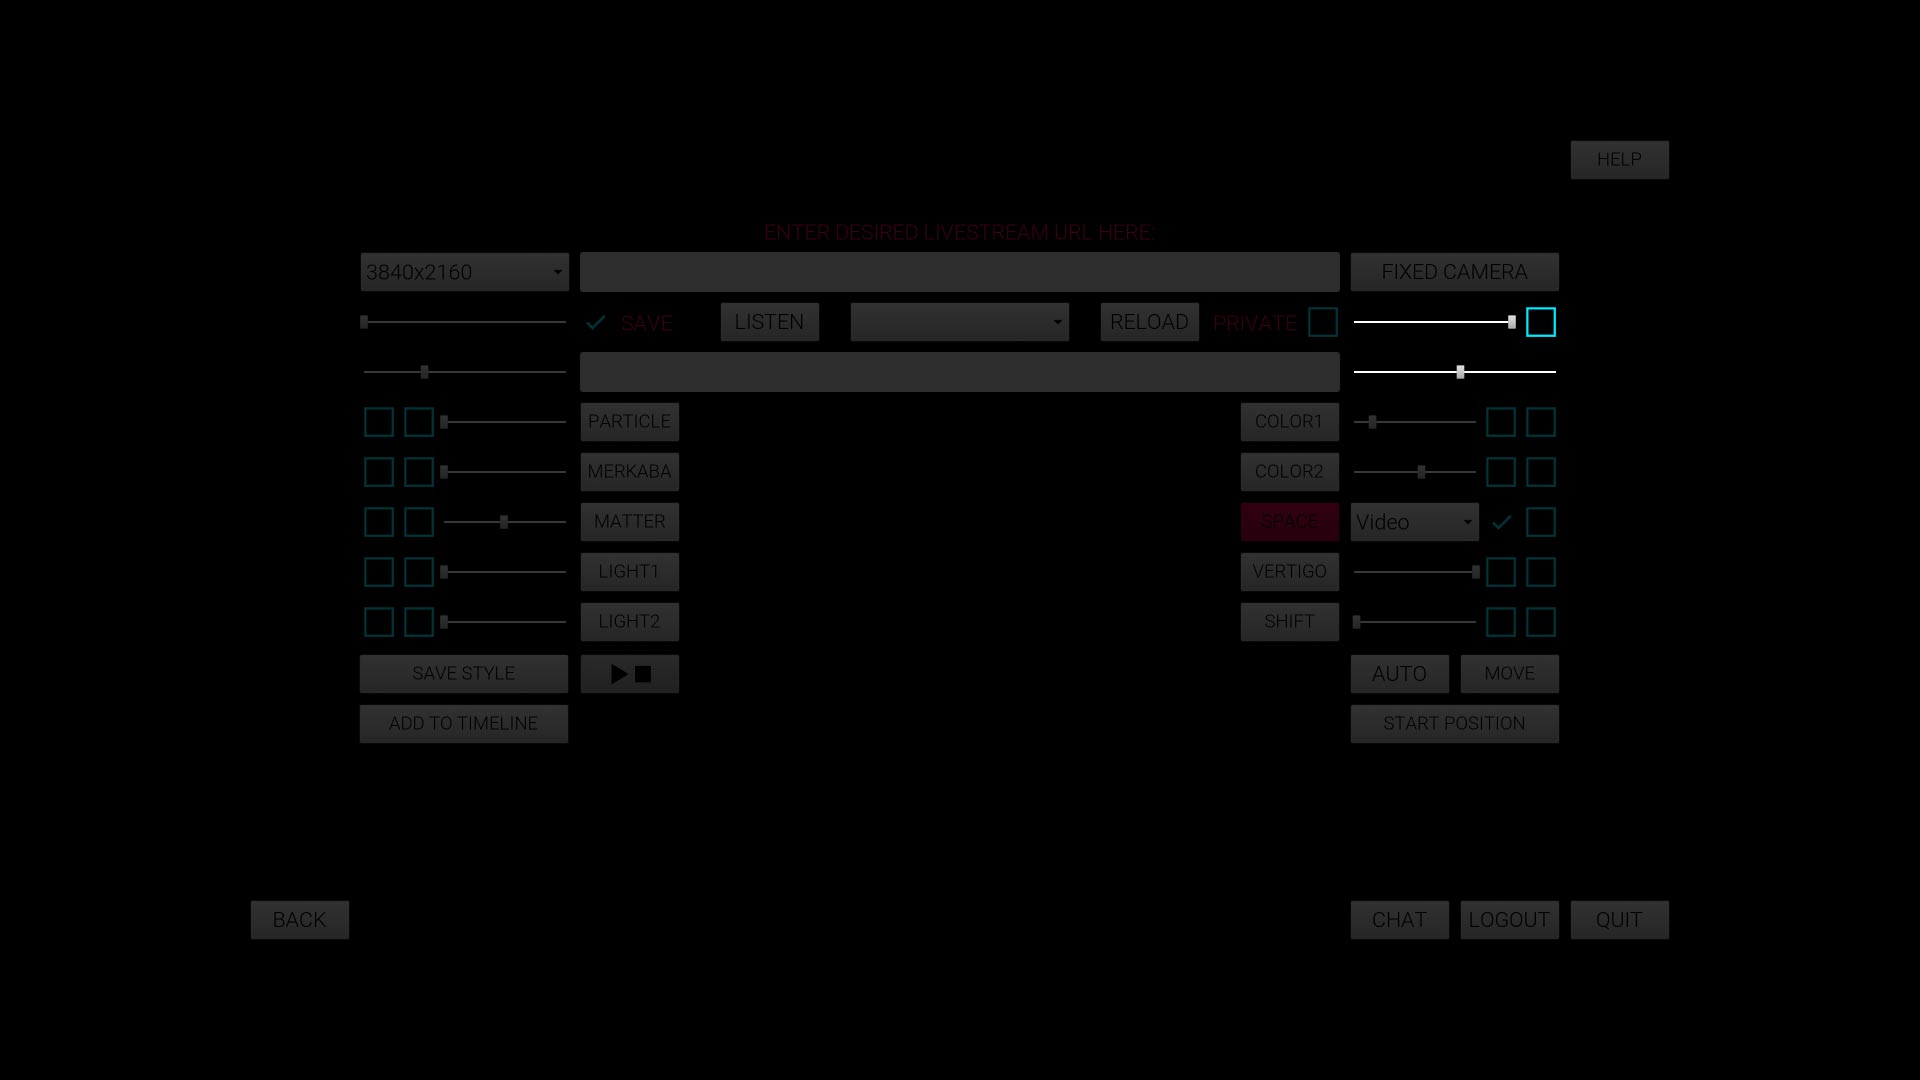
27. On the upper right side, there are:
Interface Color sliders.
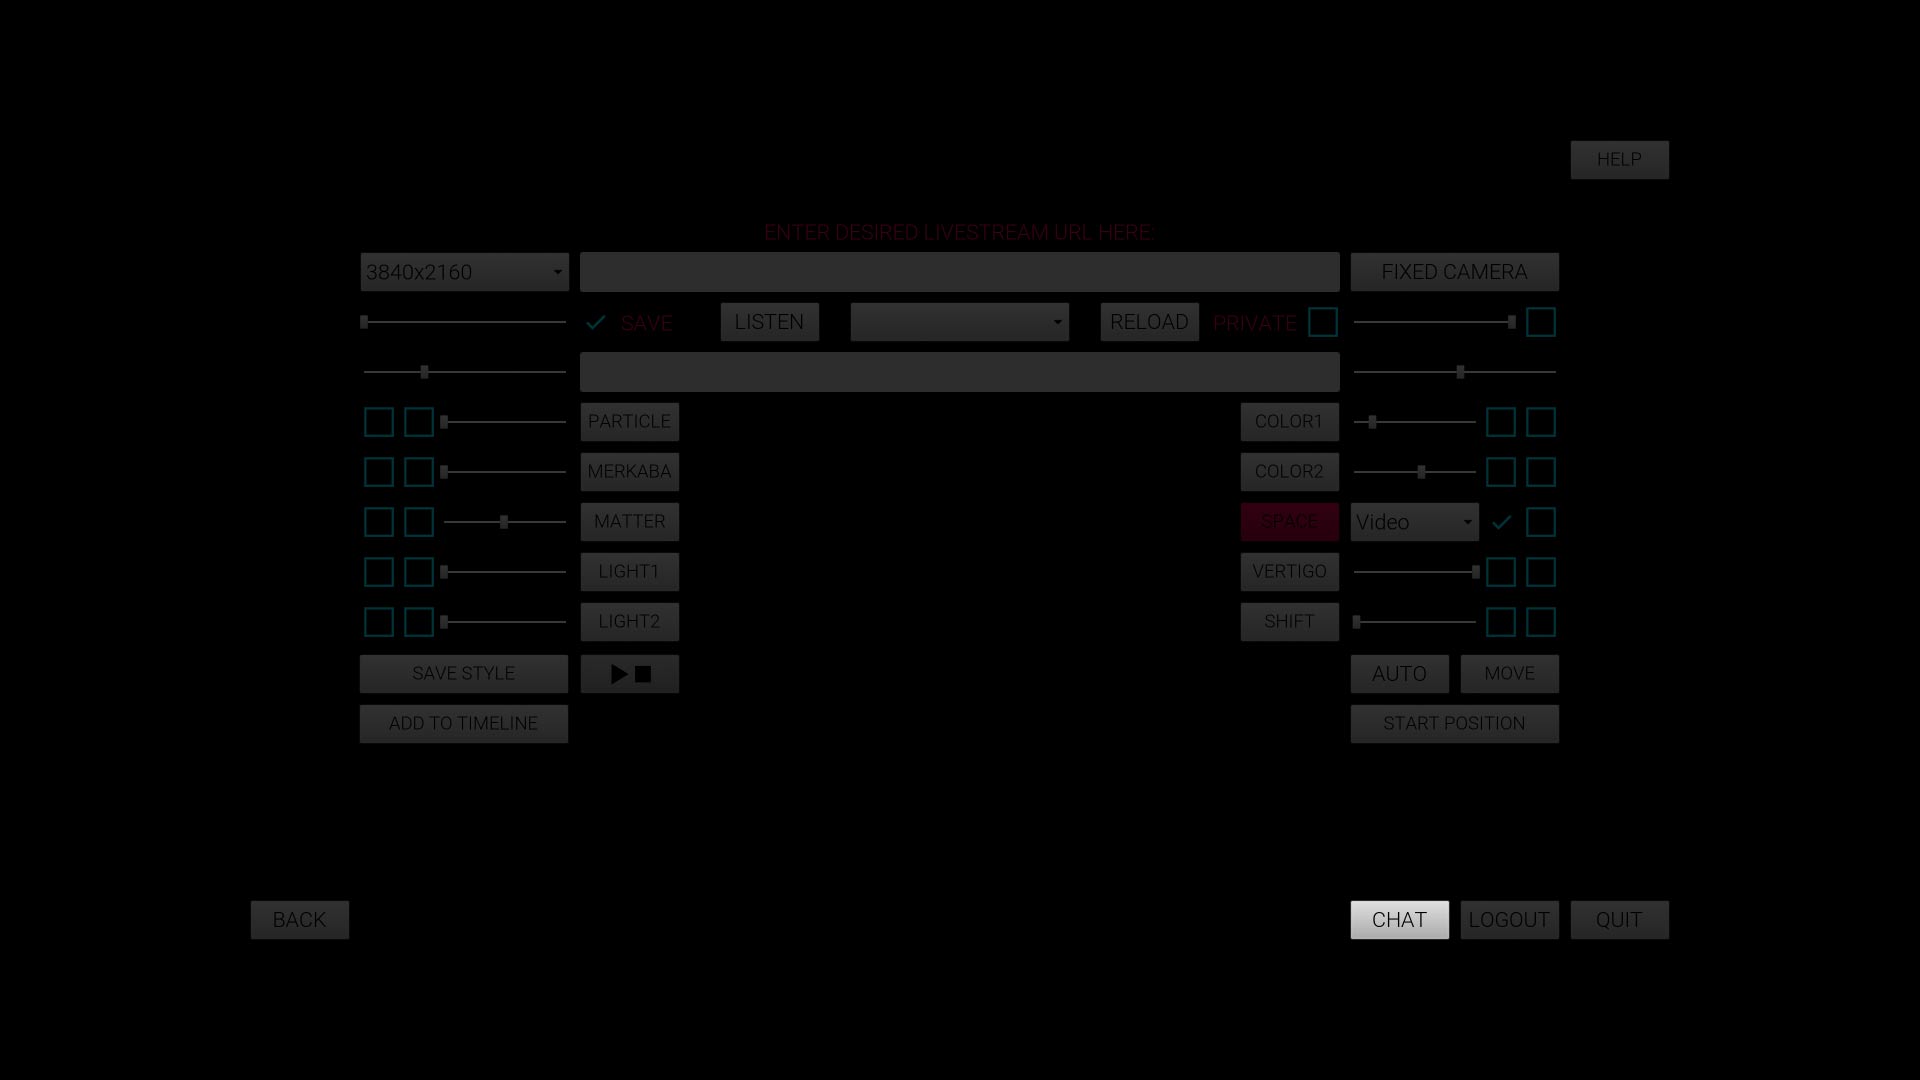
28. Click on the CHAT button.
29. CHAT
The key feature to look at is the "Select Chat" ComboBox on the bottom right-hand corner. Here, if you choose "Everyone" (a default option), you will see all messages sent by all Gravity users; and, you will also be able to send messages to the general chat. If you select your friend's name from the same drop-down menu, you will be able to have a private chat with that person.
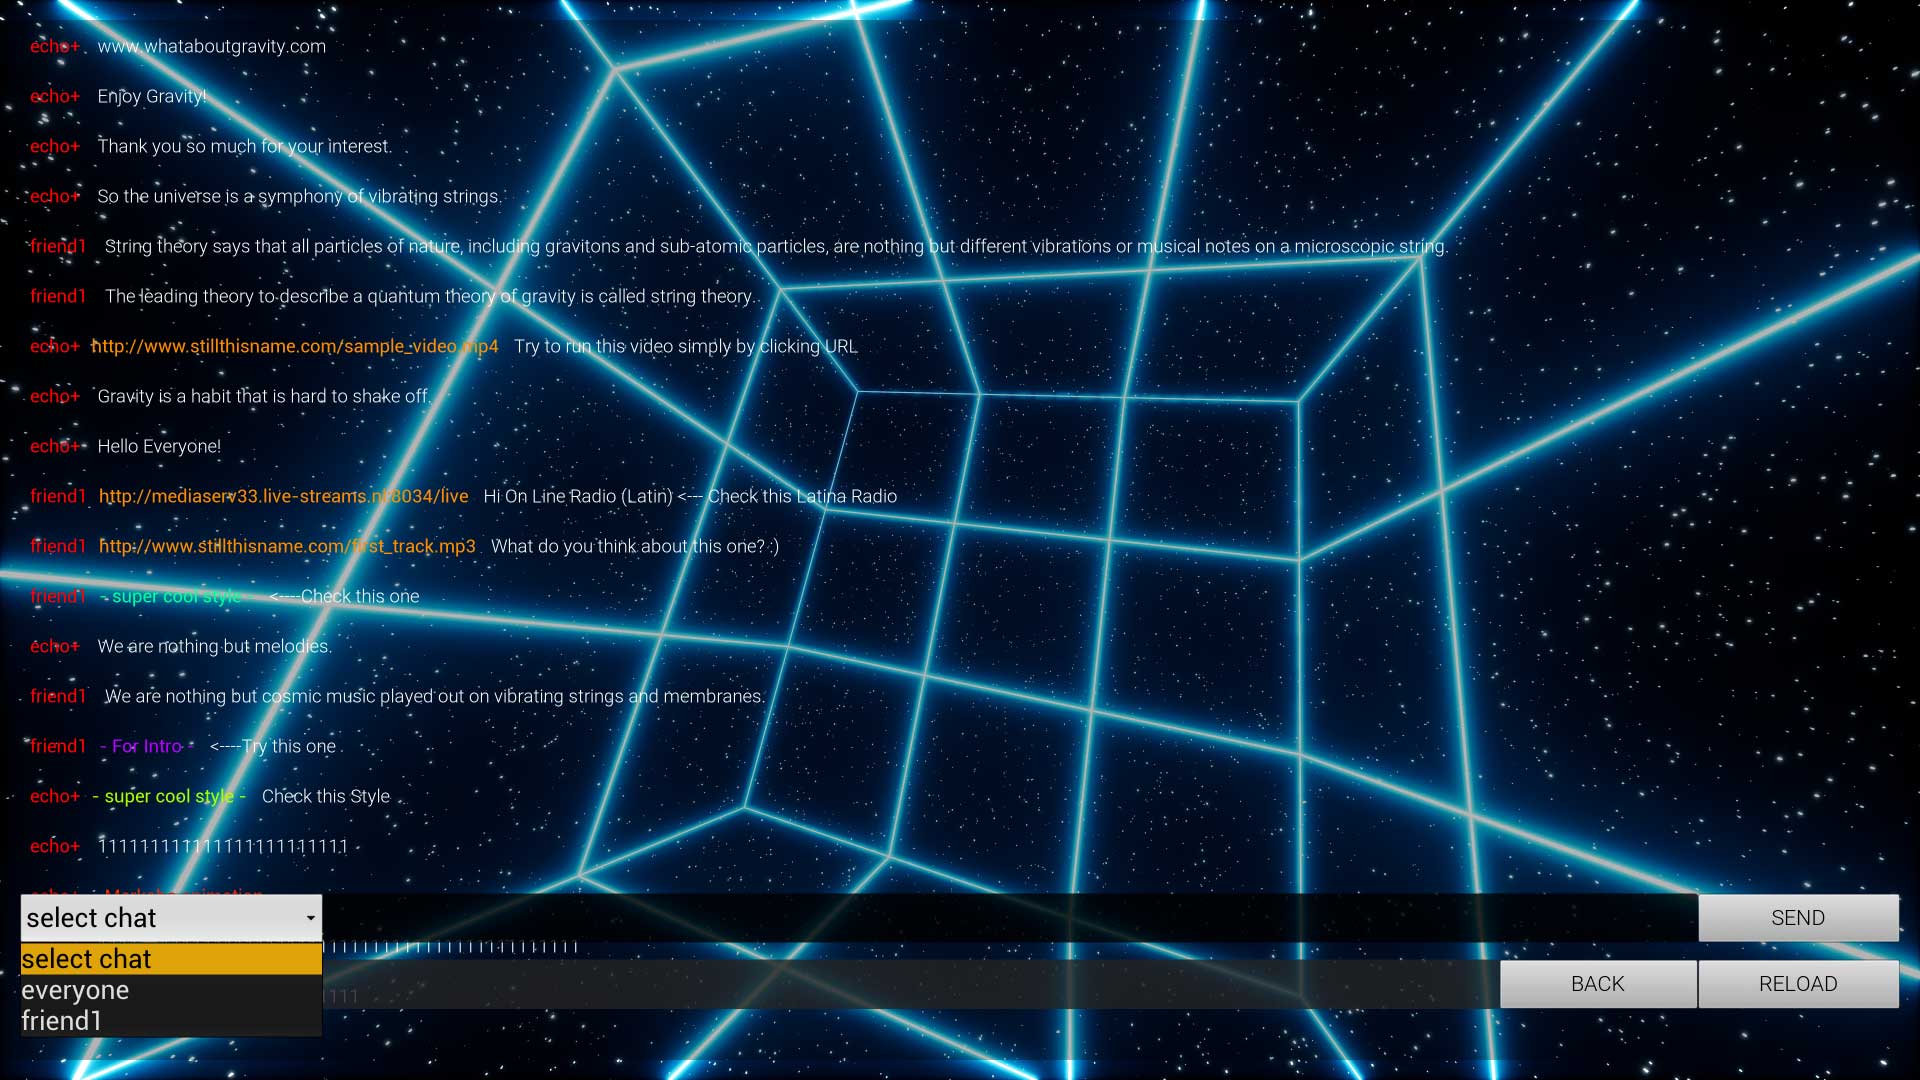
30. Once the "Everyone" option is selected and you are in a general chat, there are two options to look at. First, if you click on the name with the "+" sign, you will send this person a friend request. If you click on the name without the "+" sign (it means that this person is your friend already), it will switch the chat into private messages.
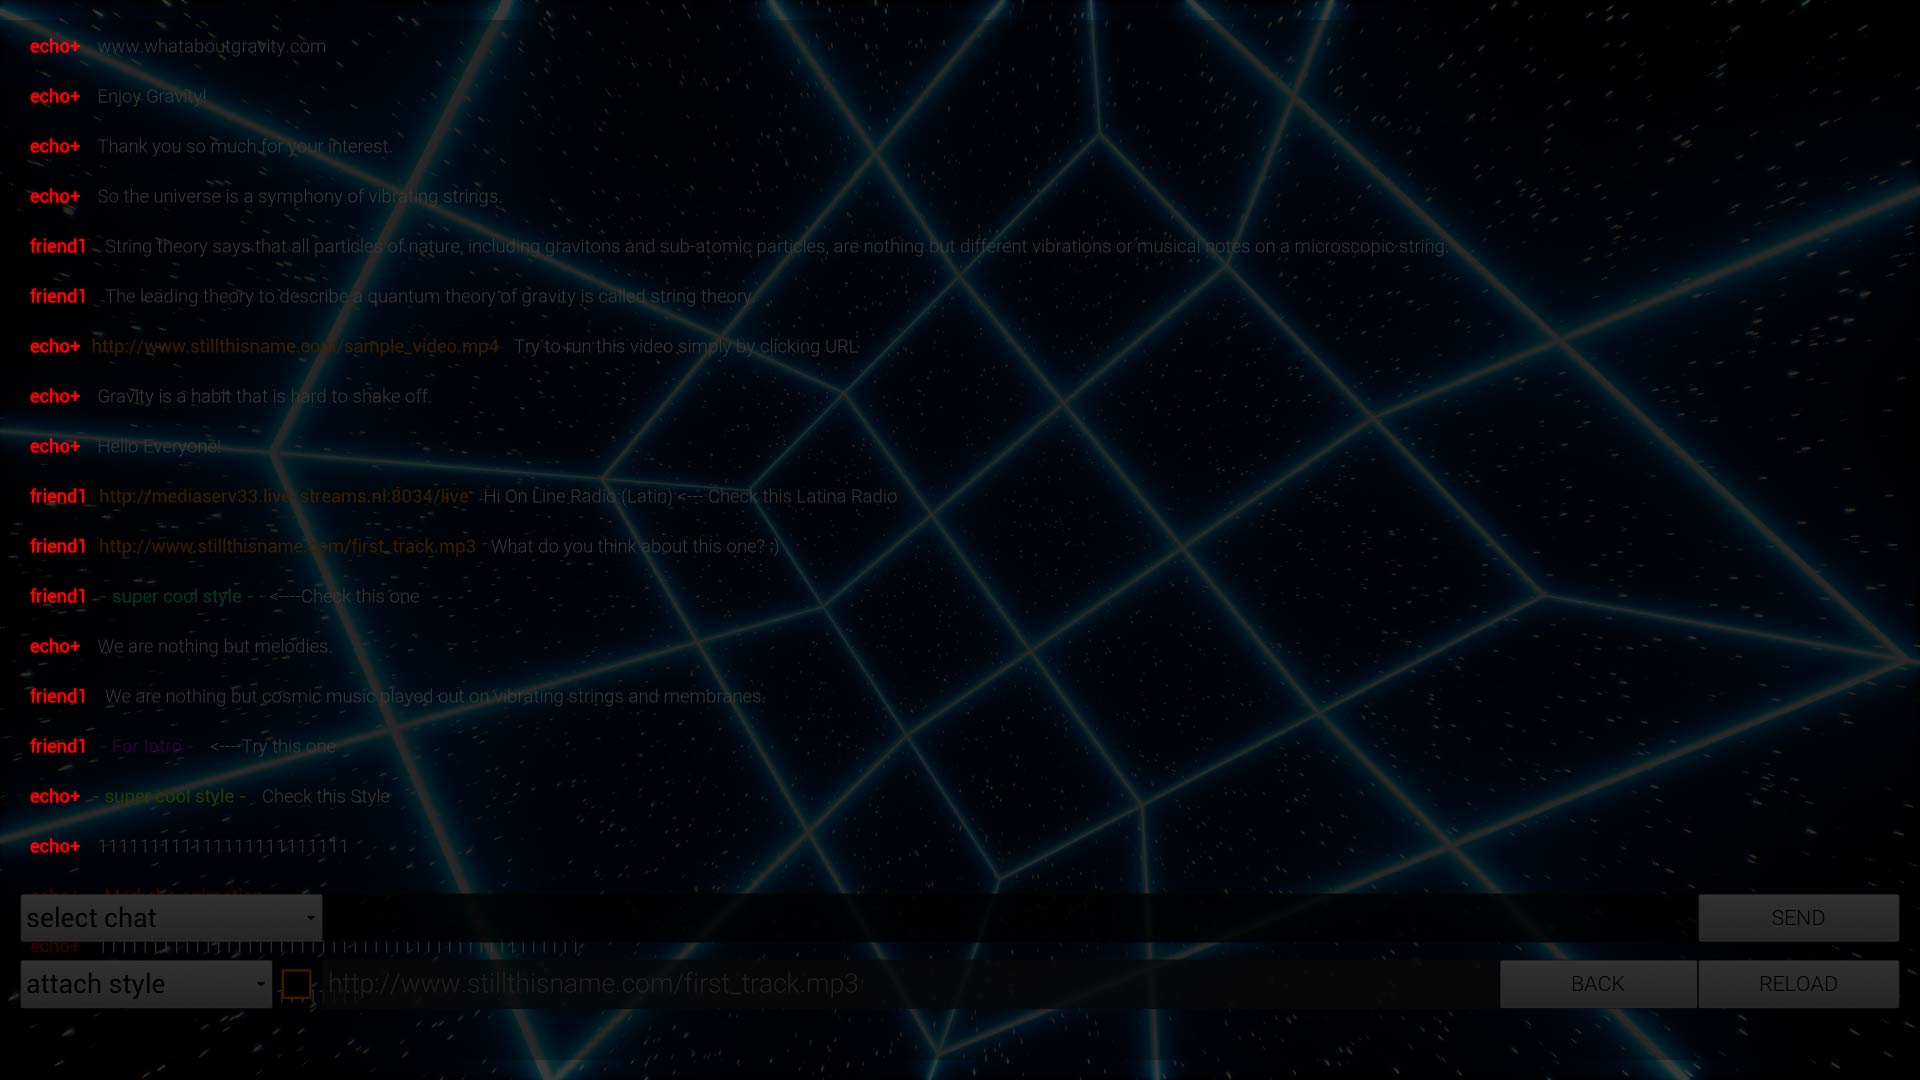
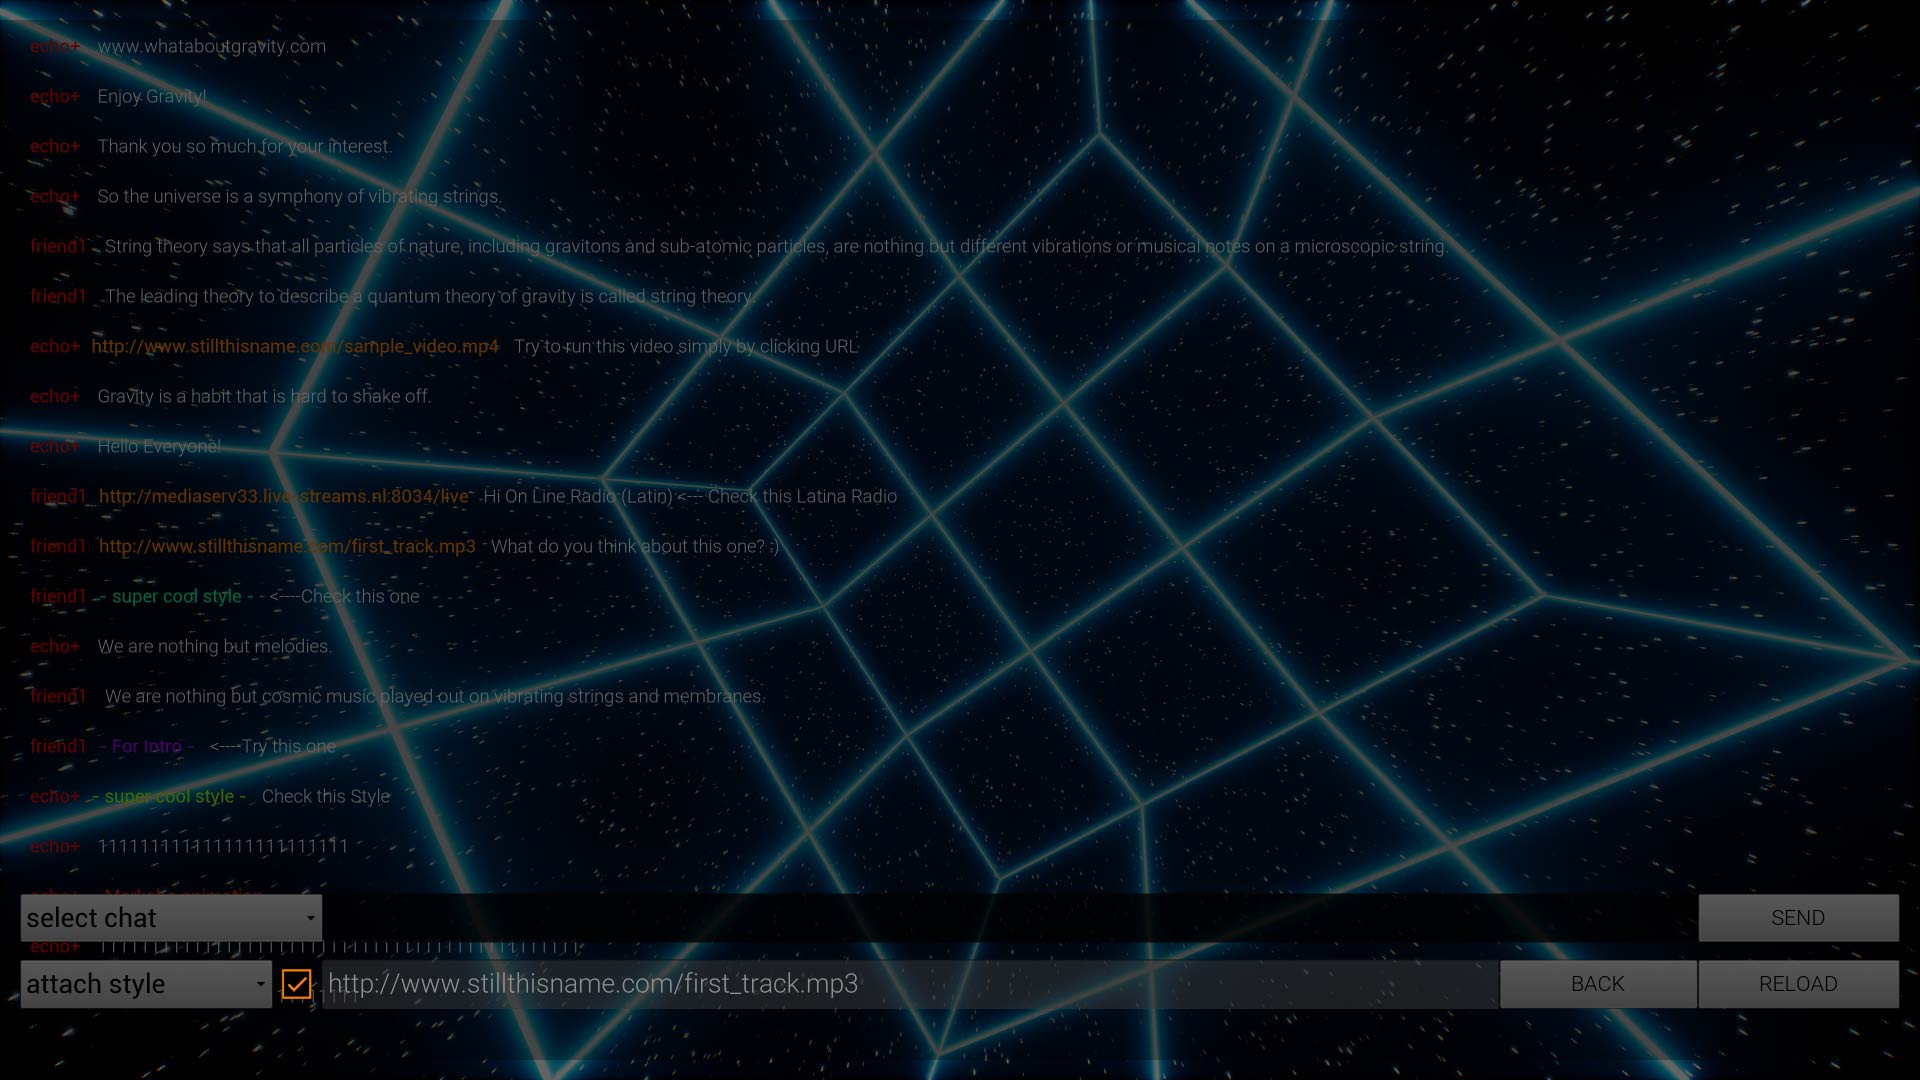
31. At the bottom of the screen, you can see the URL you are listening to right now. If you activate the checkbox in front of it, this URL will be attached to your message.
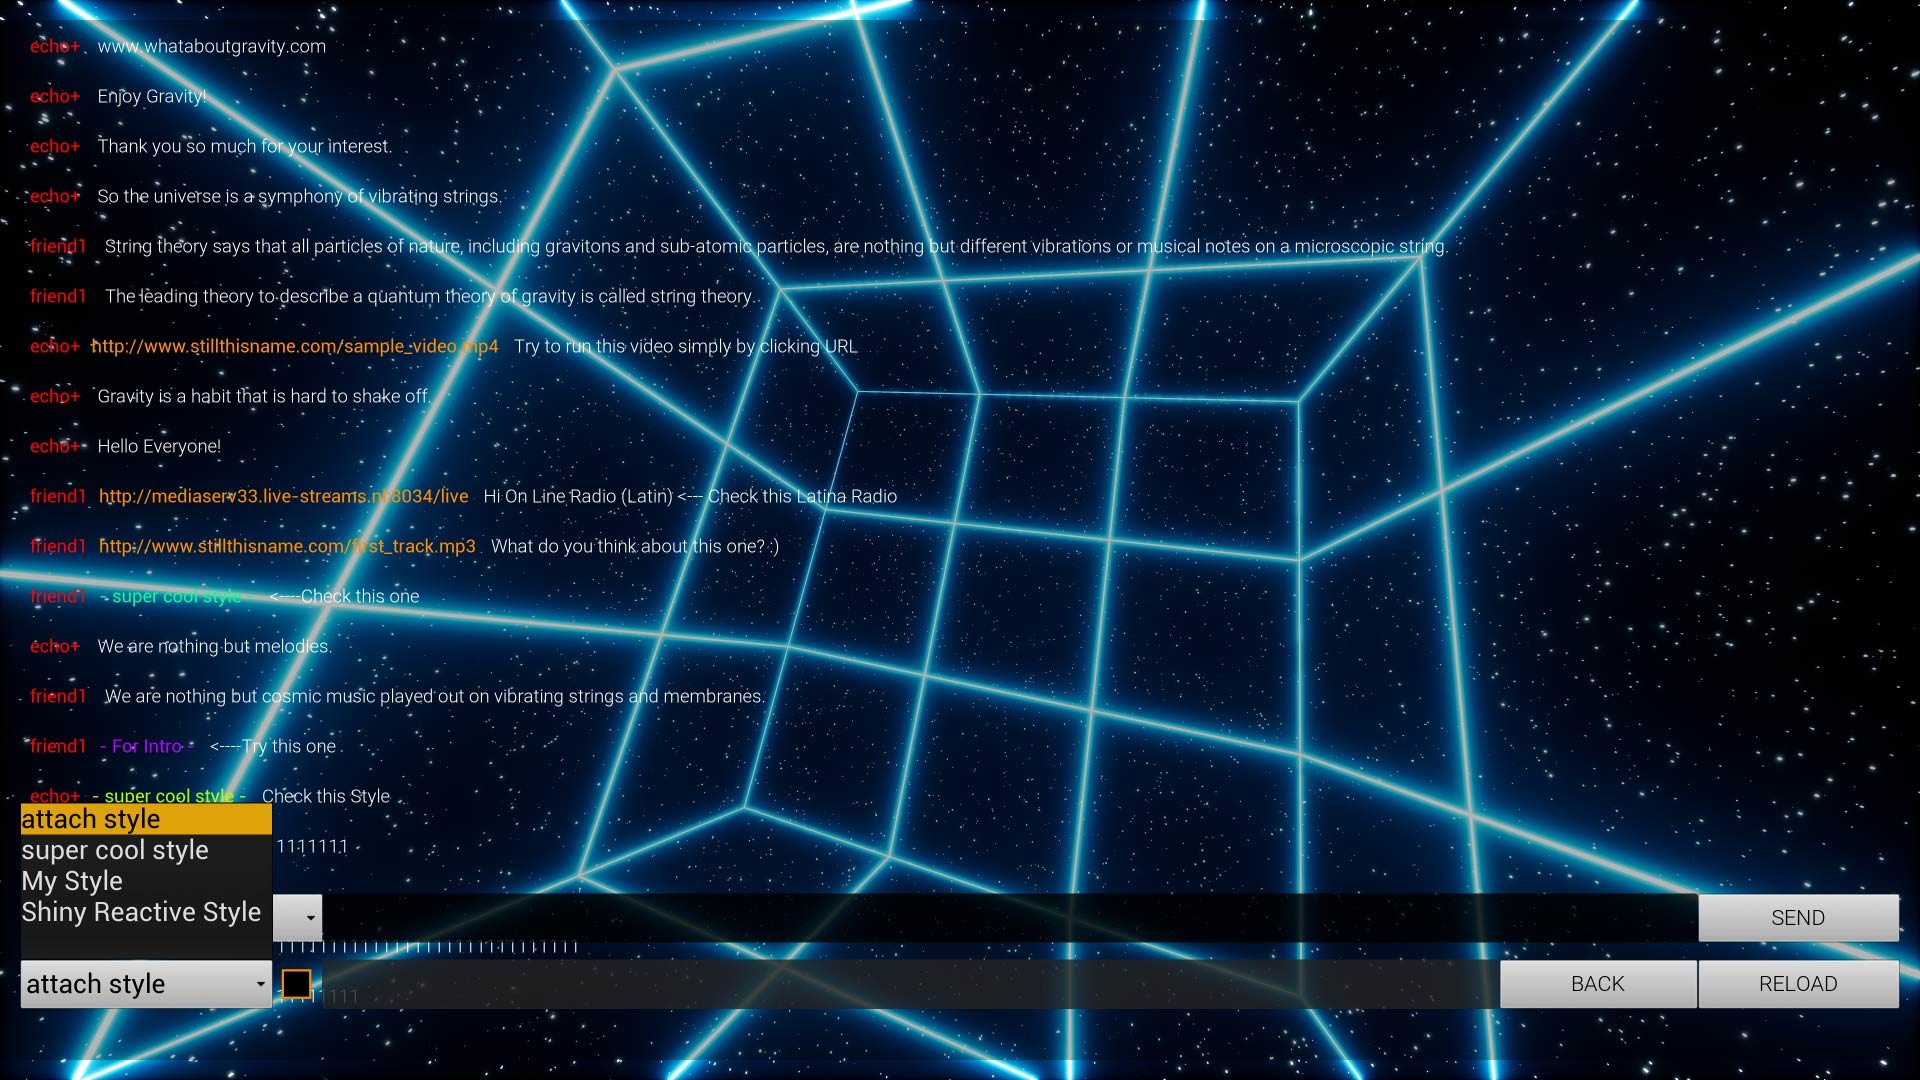
32. Another functionality to look at is "Attach Style" ComboBox. If you choose a particular Style from the drop-down menu and click the SEND button, you share it with the users in the chat. You can attach your previously saved styles to shared and private messages simply by choosing them from this ComboBox in the bottom right-hand corner.
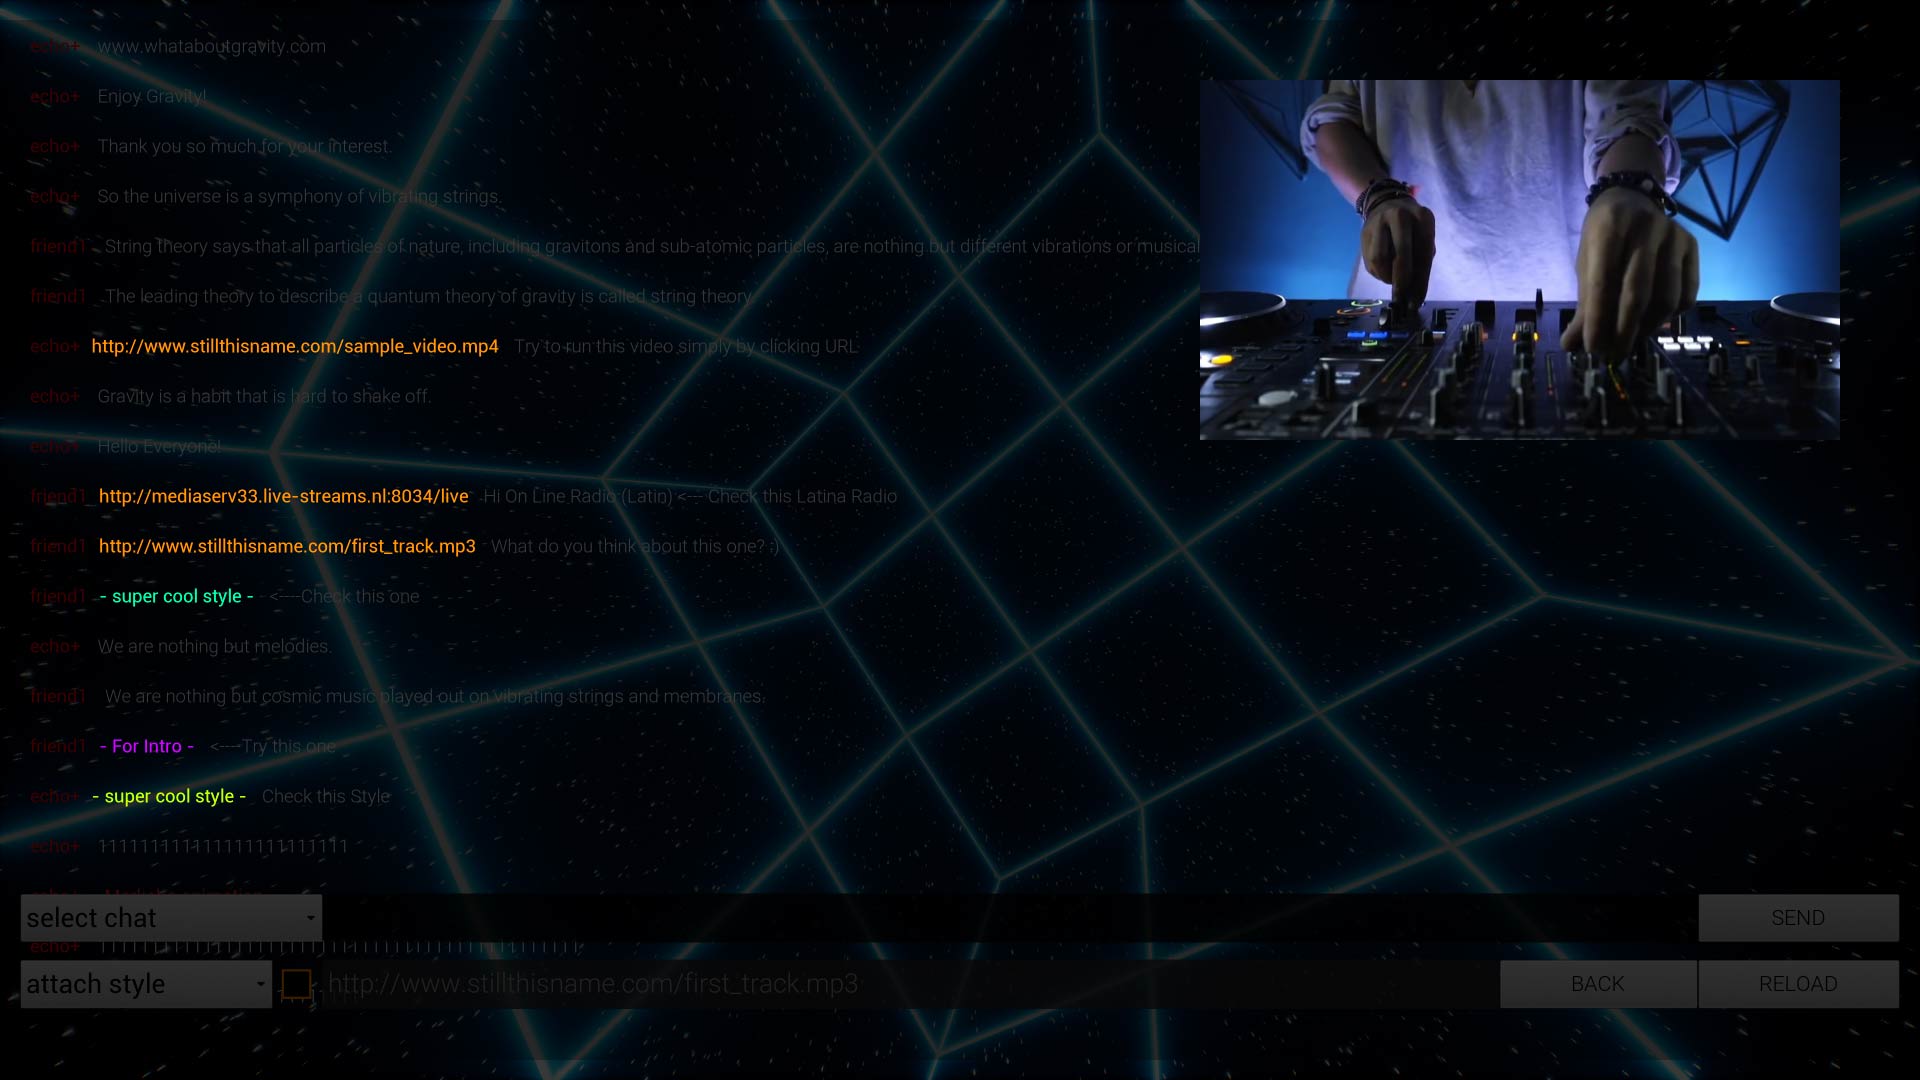
33. If you click on the shared URL link containing the video in the chat, it will appear on the screen immediately. If the URL link contains only audio, you will hear the sound. And, let's check the "Styles" out. If you click on a style someone shared, it will be applied to your system immediately.
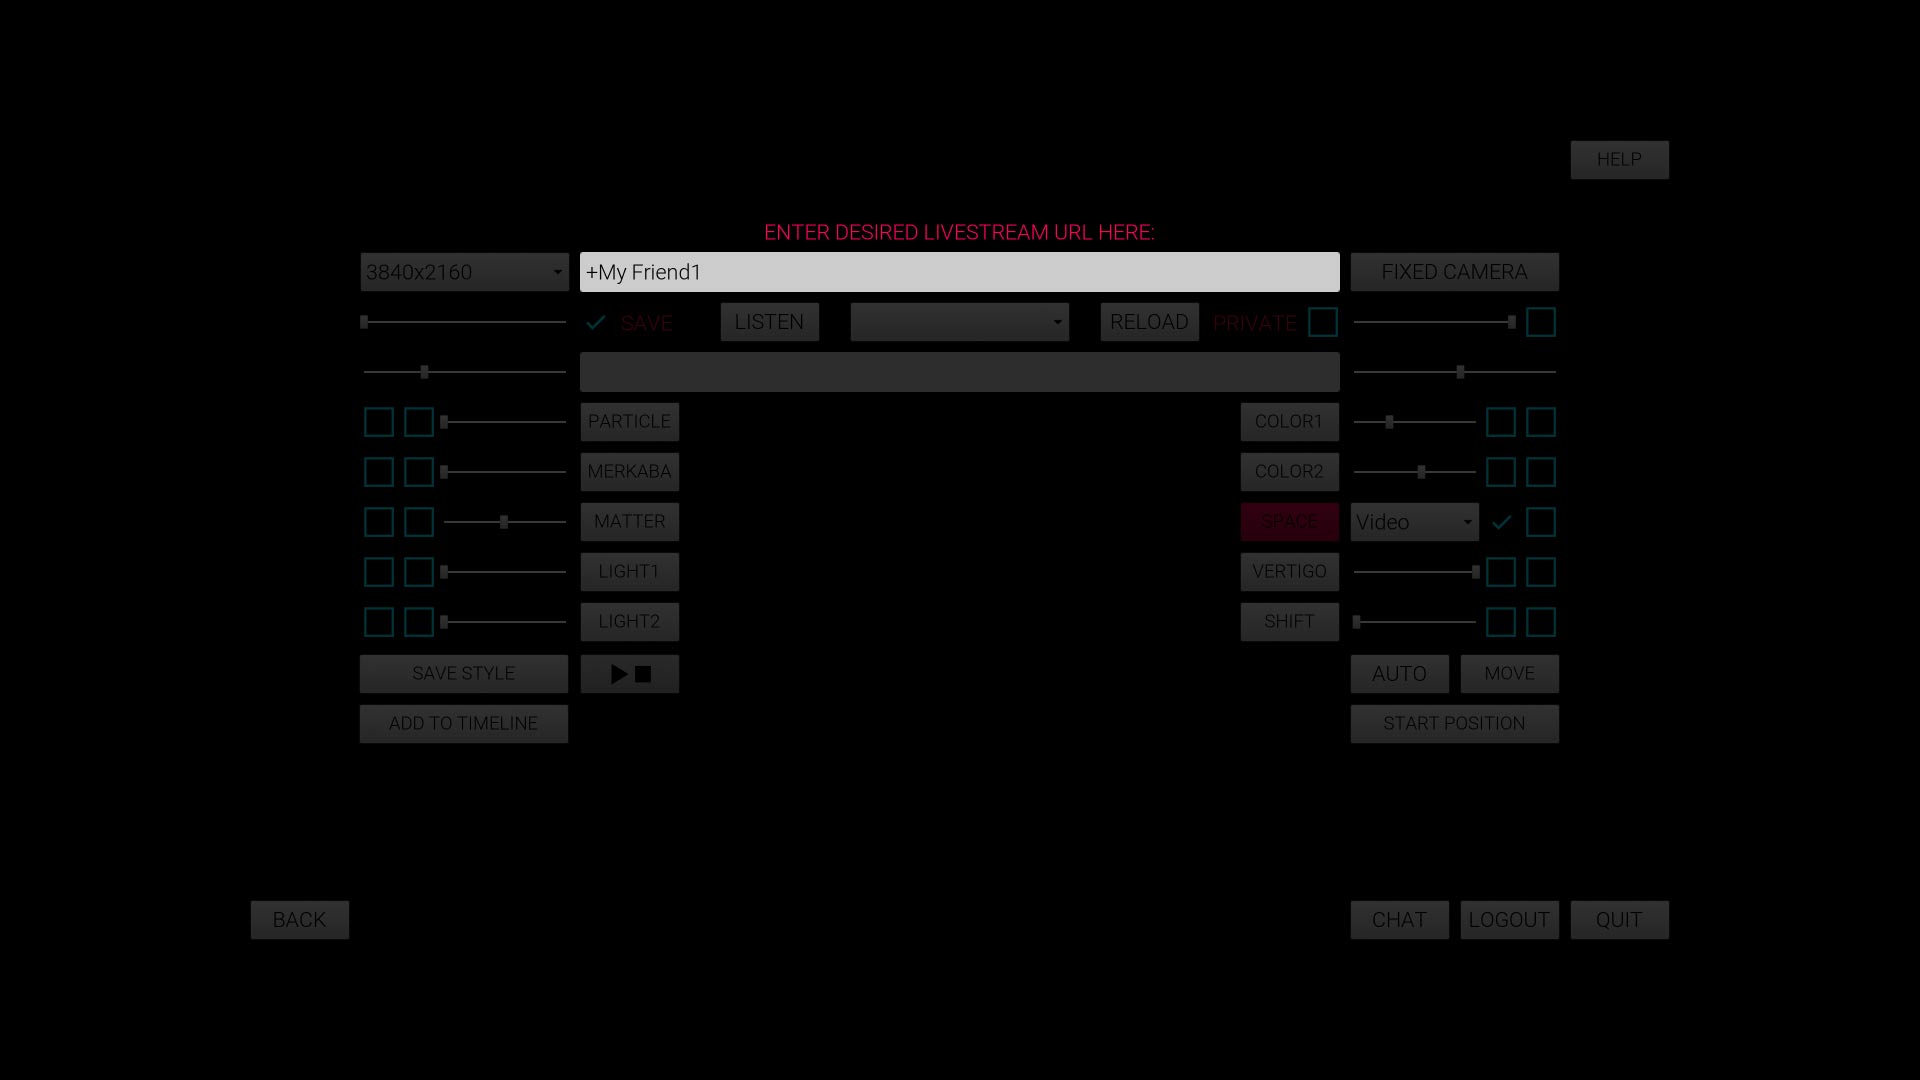
34. To add a friend, simply type his/her username inside the DESIRED URL textbox with the "+" sign in front of it.
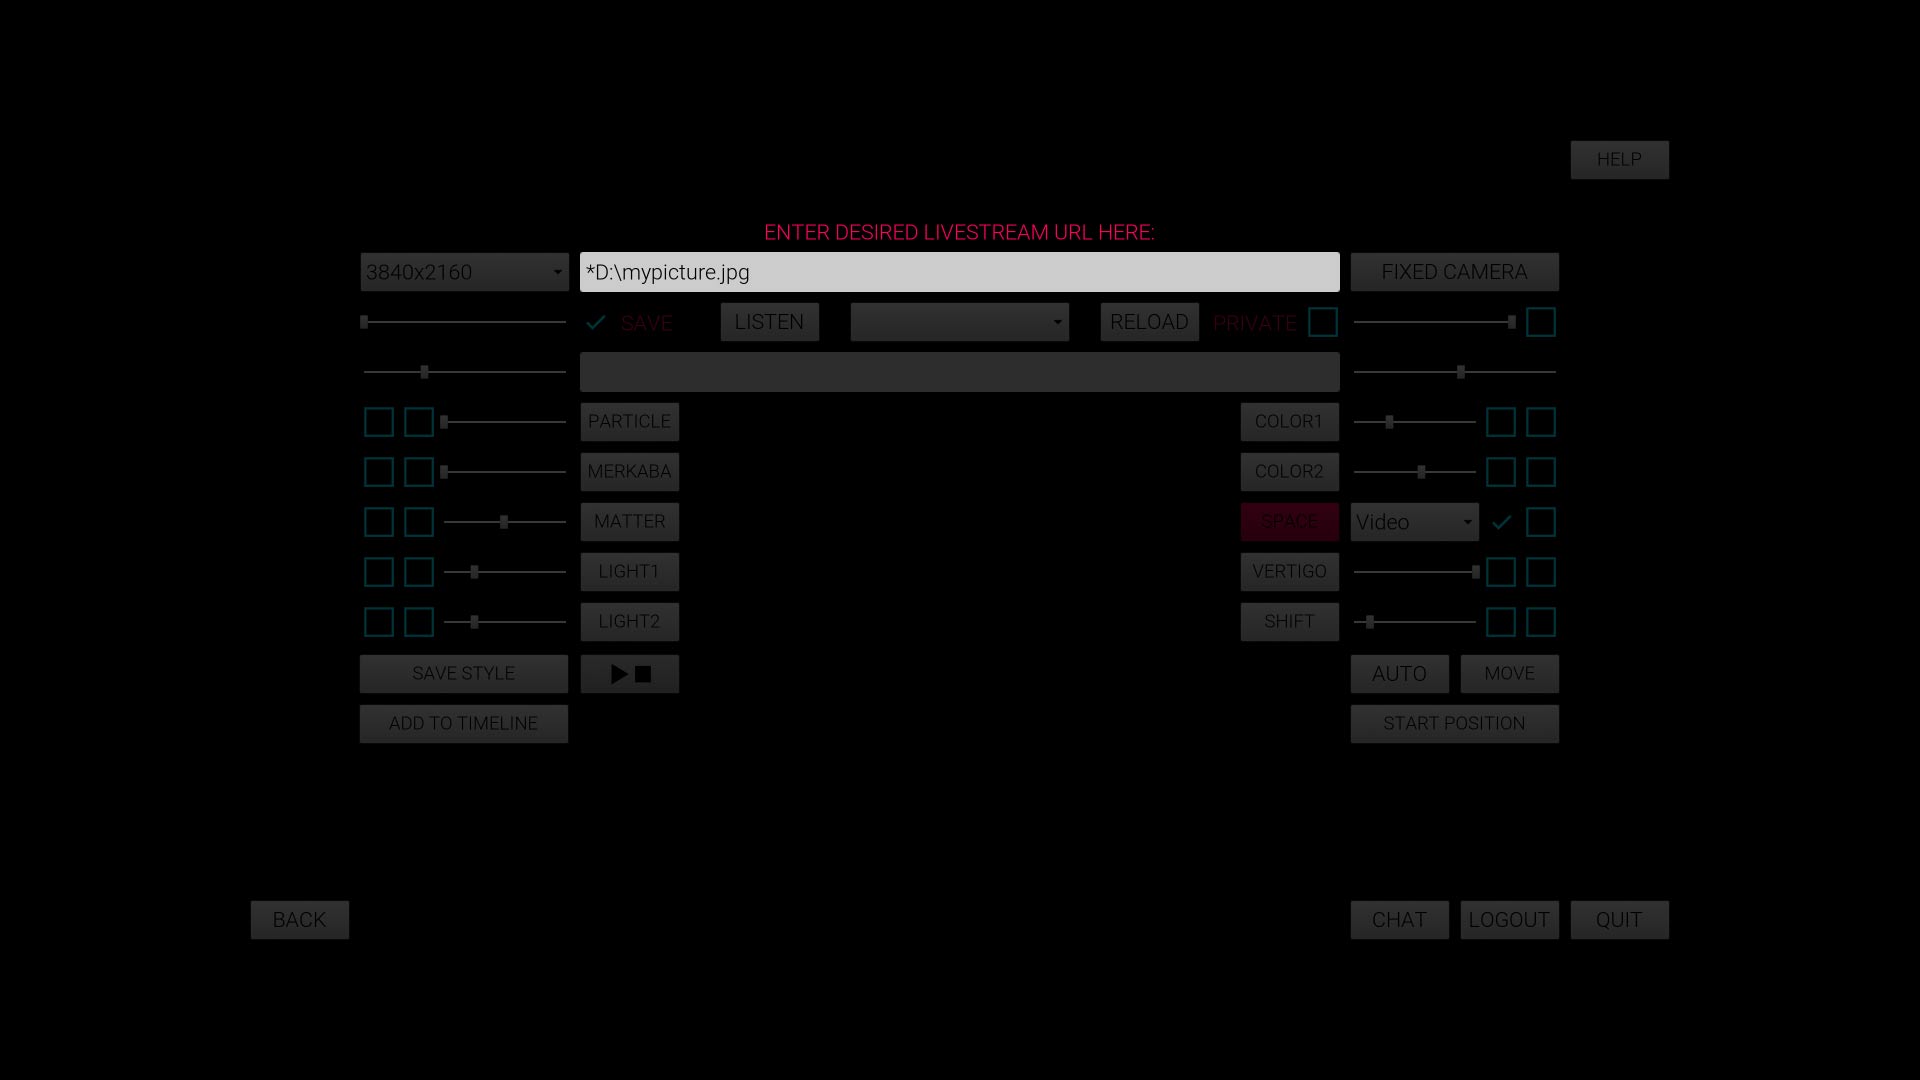
35. To add a custom picture as a background, type a star sign "*" followed by a full path to the file on your computer/hard drive inside the ENTER DESIRED LIVESTREAM URL input box, as shown below.
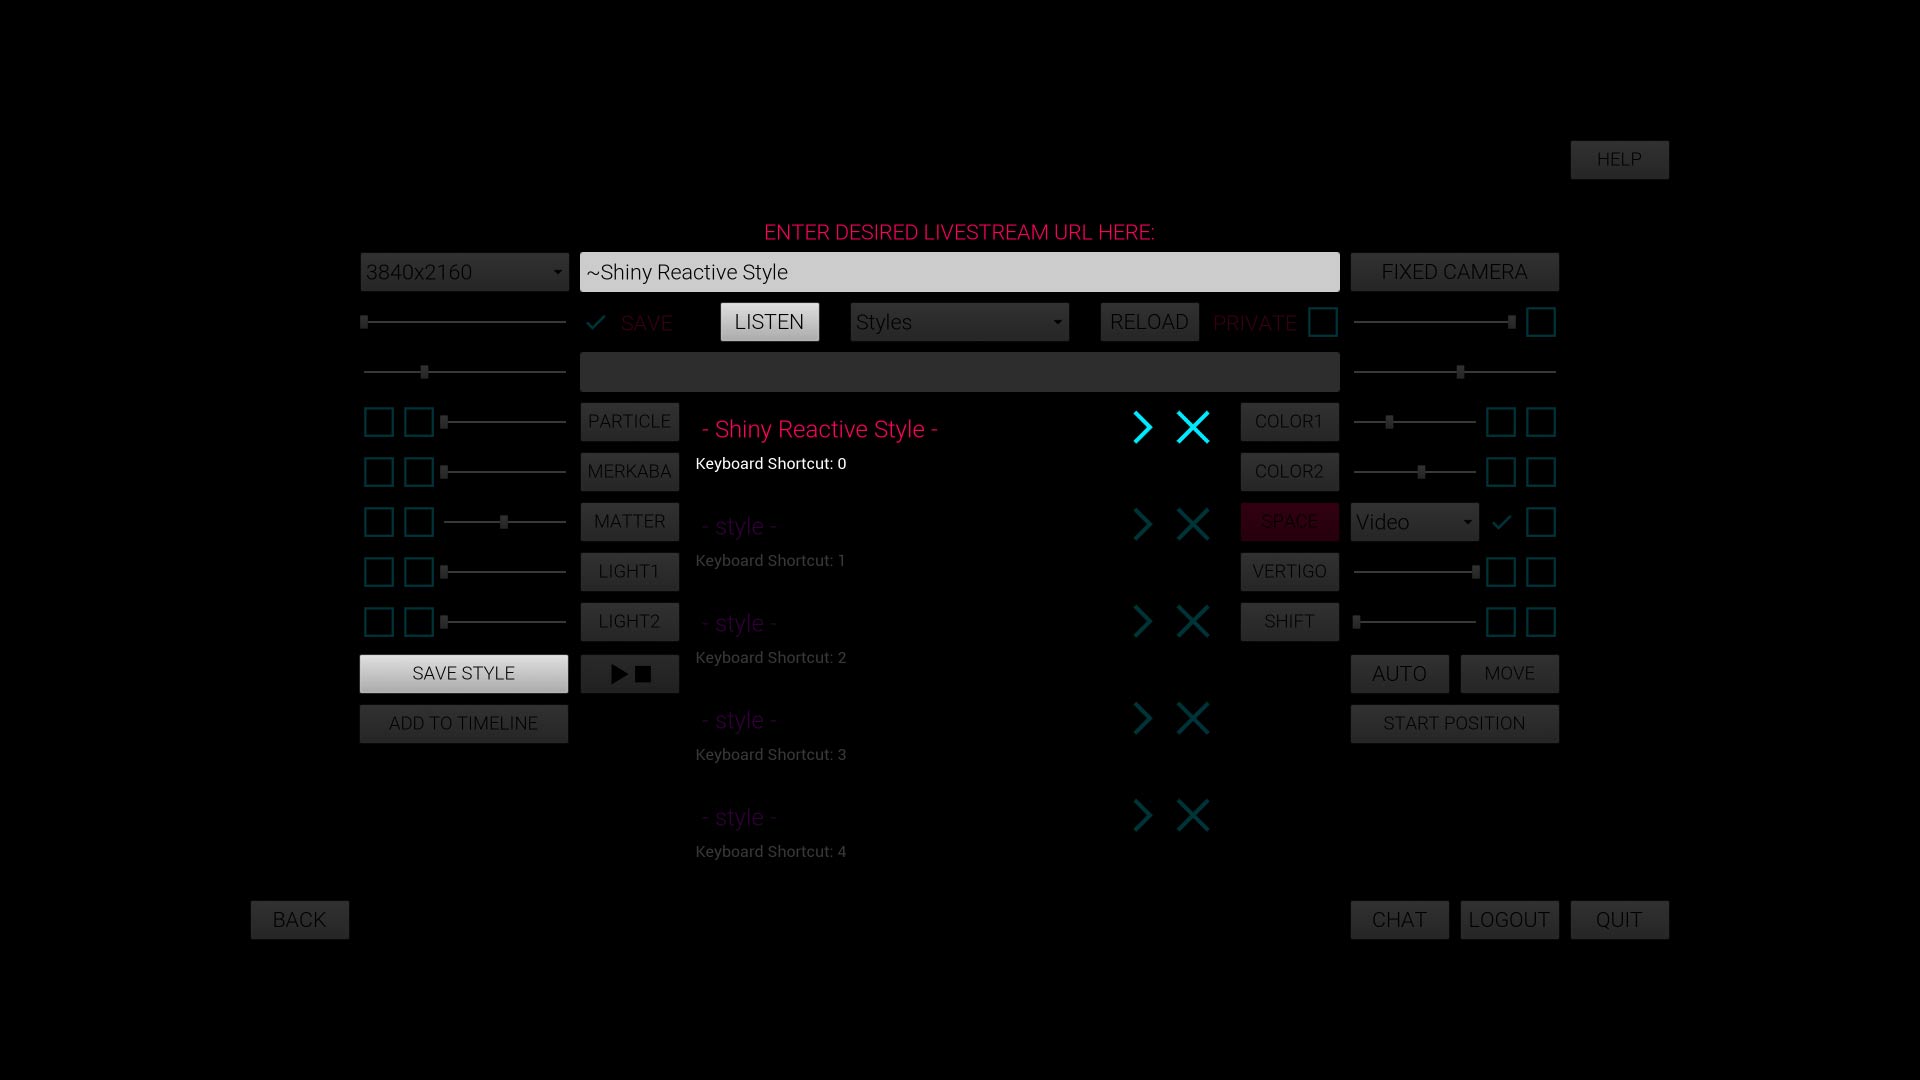
36. STYLE.
If you save style, you can use it later or share it to someone else via chat. To do so simply click SAVE STYLE or, if you would like to use custom name, type it inside the ENTER DESIRED LIVESTREAM URL input box with the "~" sign in front of it.
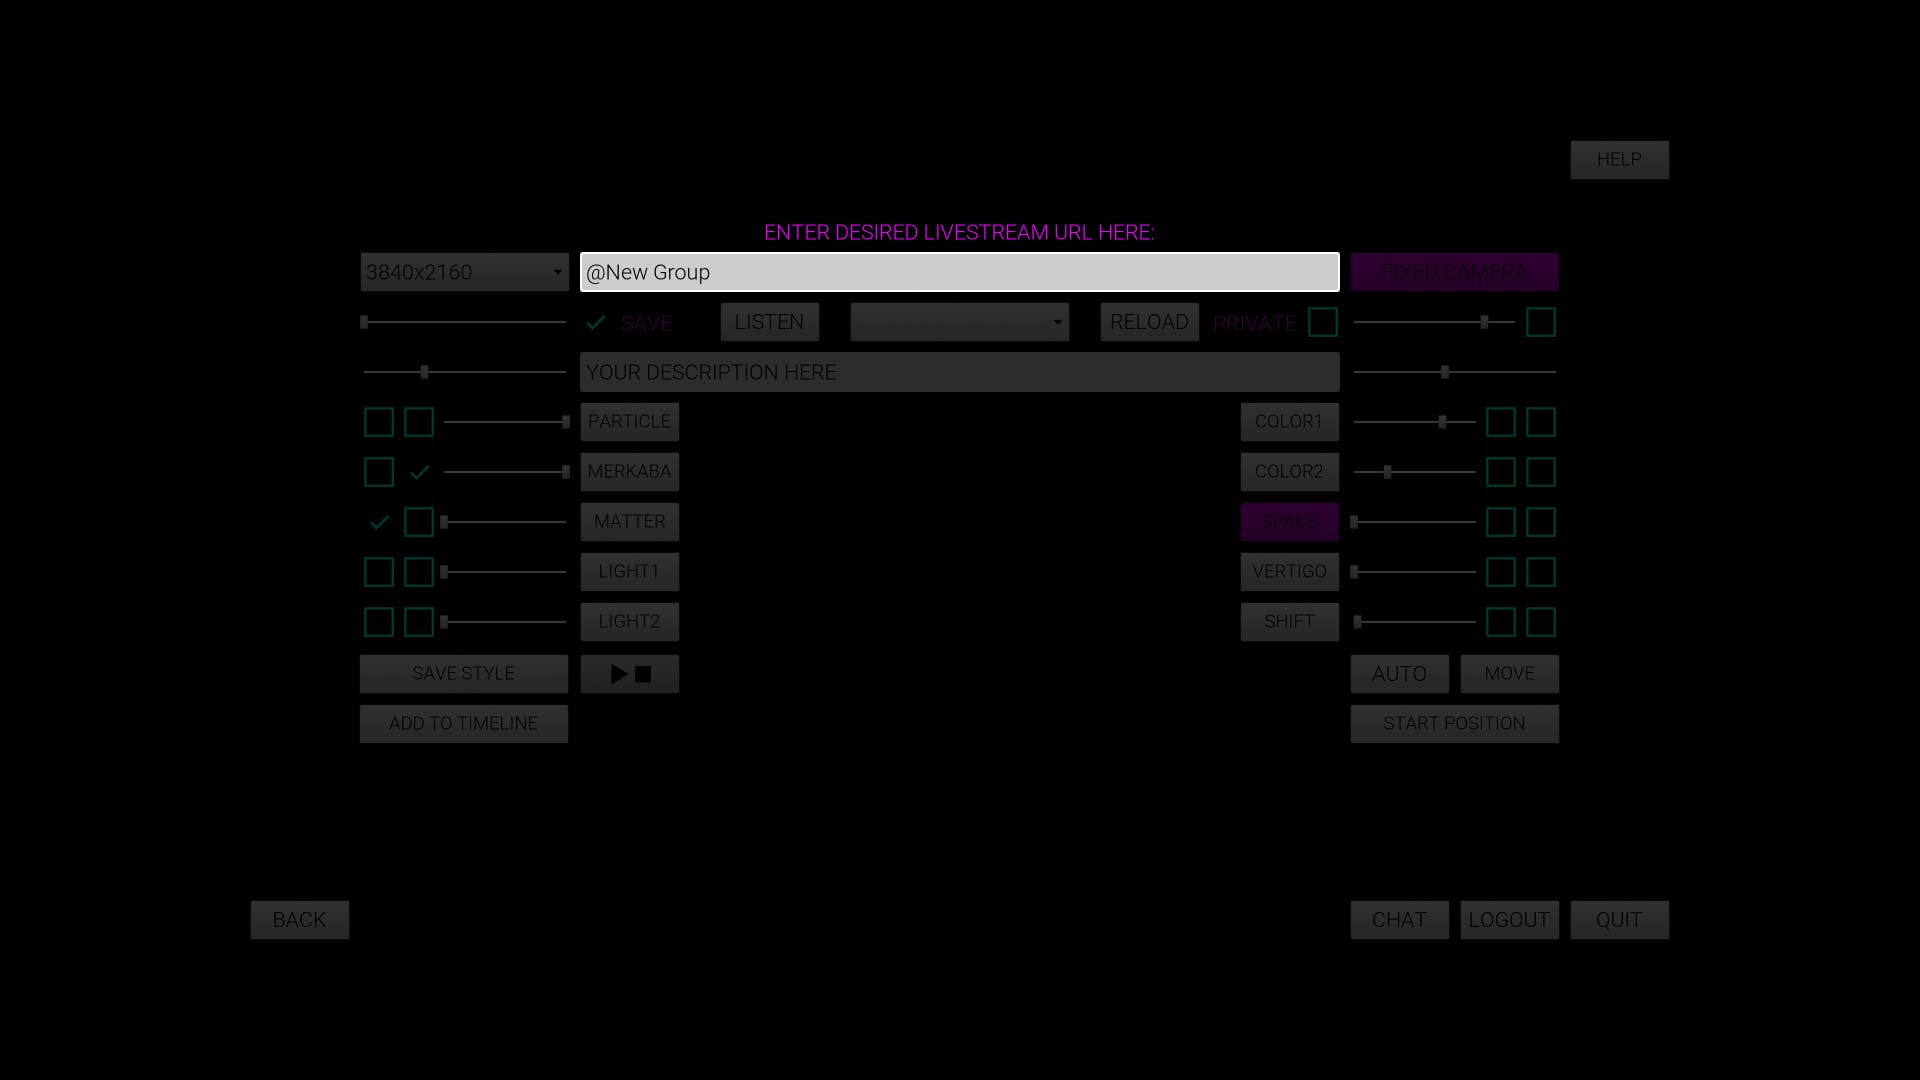
37. GROUPS.
You can create groups. To do so, type @ followed by a group name.
38. TIMELINE.
With this option, you can save visual effect settings and play them from a specific point in time later on. For this, you can set a sequence of visuals you want to occur while performing. Timeline option allows to save information about the key properties similar to what SAVE STYLE button does. However, unlike it, it also saves time that later allows to determine the launch point of the created time slot.
Once you click ADD TO TIMELINE button, the timeline ComboBox option will be switched on automatically. And, the first time slot will appear on the screen (right below the ENTER DESIRED LIVESTREAM URL box). So, configure the visuals you need and press this button as many times as the number of effects you need for your performance.
Once you click on the slot, previously saved settings will be applied immediately.
If you set timeline slots on 0:0:11, 0:1:11 and 0:3:33, settings chosen will be applied at 0:0:11, 0:1:11 and 0:3:33 of the track, accordingly. You can manually set the desired time slot and apply changes with an arrow on the right side of the input fields.
As soon as you hit PLAY/STOP button, you will see a timer in the upper left corner of the screen. It is the current media playing time, and settings from time slots will be applied to the system exactly when the counter reaches its previously set timeline position. Therefore, you can use the effects timeline only when the media is playing.
Now you are ready to explore GRAVITY!
Powered by stillthisname.com